
But only for some. Whilst London and Saddleworth (over the hill from us) had snow we basked in glorious sunshine yesterday.
Heaven.
It was the kind of day when it felt so good to be alive. I like a positive start to the day – it seems to make everything else go right. Even when I came across a temporary blockage across the road trying to get to the physiotherapist on time, I still manage to remain unflustered and kept smiling.
The world I fear is in a very sorry state at the moment. There has been a case of Coronavirus reported in the next little village to us and of course there is a lady in Tenerife waiting to be allowed back to Huddersfield. When I popped in to my old workplace one of the employees was in self isolation at home and had been asked not to go into work as they had just returned from a holiday in Italy. We also have a very high Chinese population here studying at the University and many are walking about wearing masks now – it all feels a bit eerie. I keep washing my hands in hope it will help!
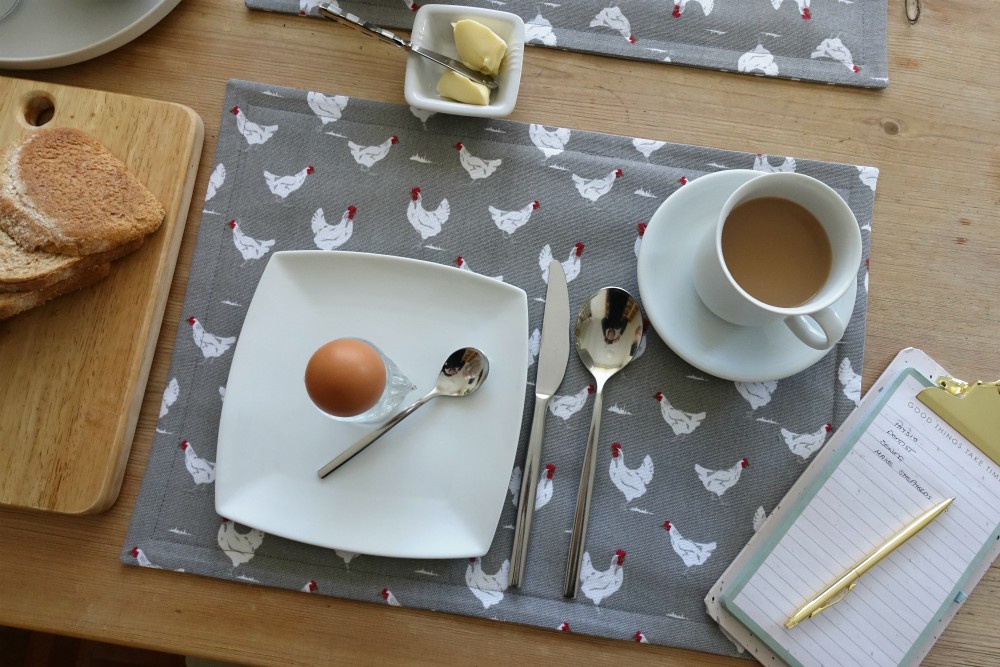
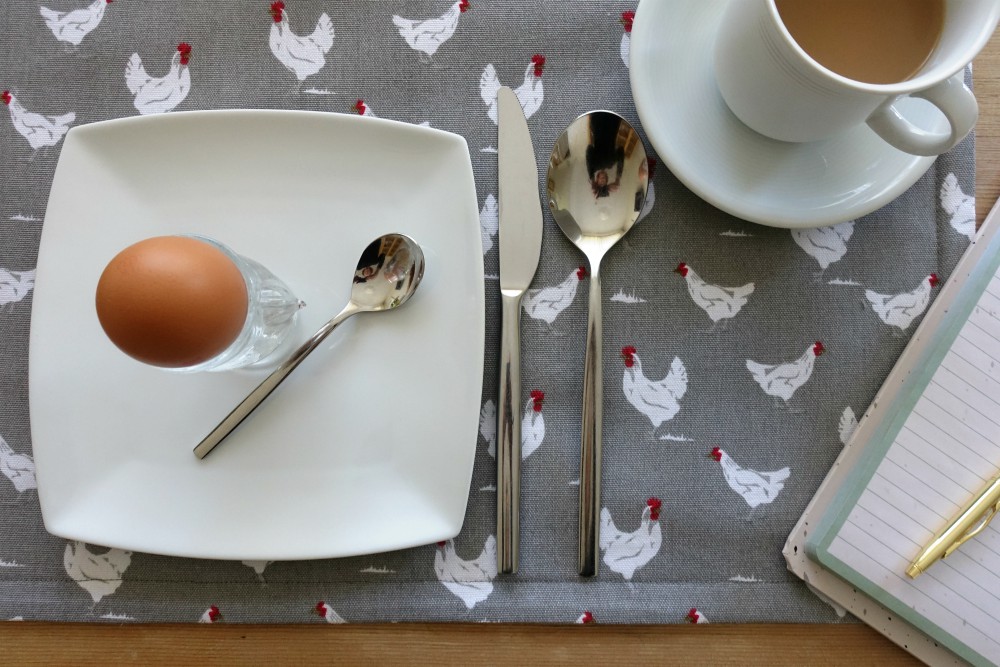

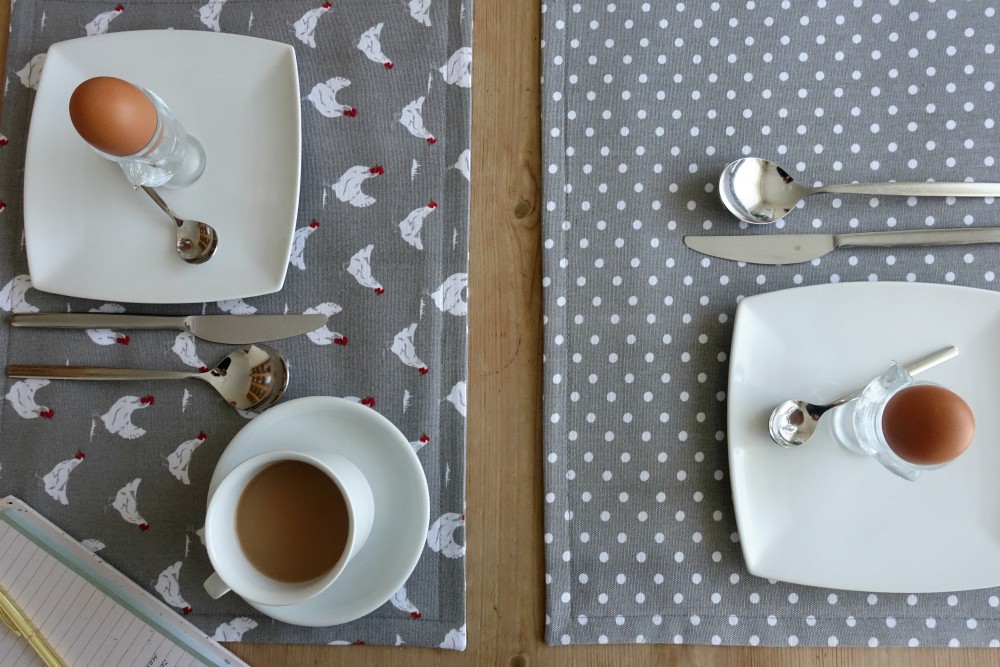
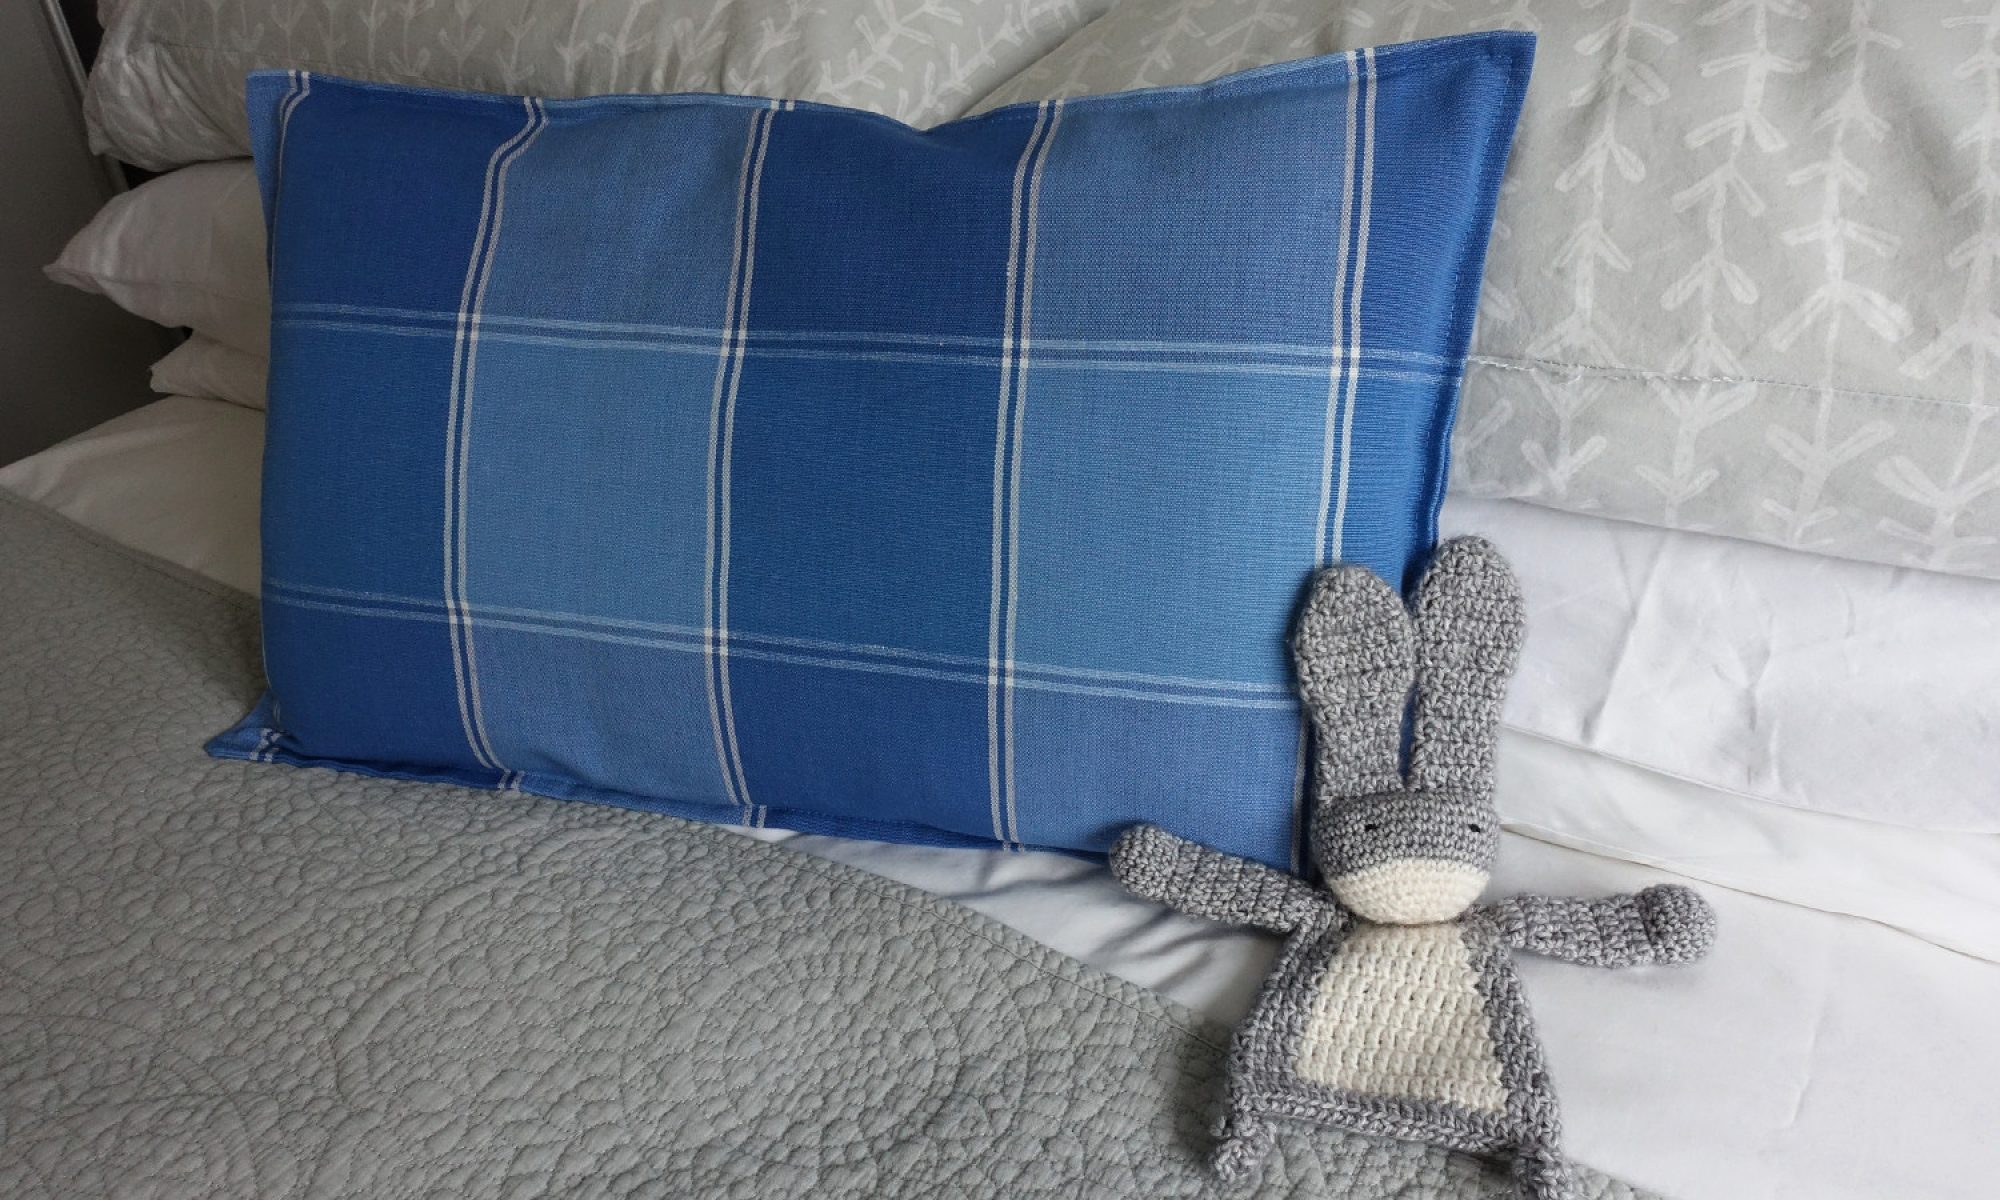
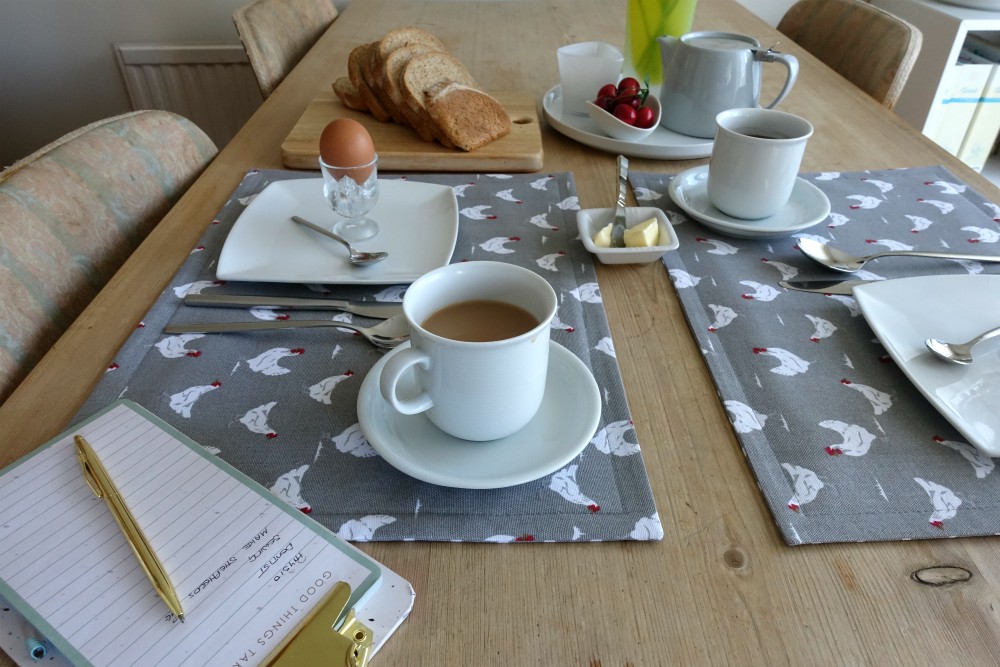
I finished the tablemats – for anyone wanting to make some I have given more details below. I am loving them already but will put them away to use nearer to Easter – why I thought Easter fell in March I don’t know; I checked the calendar to find it begins on the 10th April. In a way this is good news as I have longer to prepare, not that we do a lot but I have started making things for the grandchildren now like I used to make for our own daughters.
I didn’t think I would manage another post but here I am. We are going to see mum for the weekend. My sister is away on holiday for a much needed rest as mum has had her almost in tears a few times recently, her general demise and lack of mobility has made her……for the want of a better word….plain old grouchy. I can understand her frustration, her life has become very boring now she cannot get out by herself, yet my sister cannot be there to entertain her every day. We need a solution or we will all go stir crazy with her.
The occupational therapist will see her on Monday to assess her for a walking frame (or a ‘pusher’ as she calls it) in the hope that she will be able to walk further using one and get about a bit more. Strangely enough until mum had the x-ray on her hip and was told it was not in very good shape she had not complained about it very much – usually when it rained – it had always been about her knees or vertigo. Now she never mentions either only her hip that seems so bad she cannot do very much at all. She has seriously gone down hill since knowing there is a problem and is merrily dosing herself up with codeine as well as co-codamol even though she has been told she can take either but not both. What does one do??
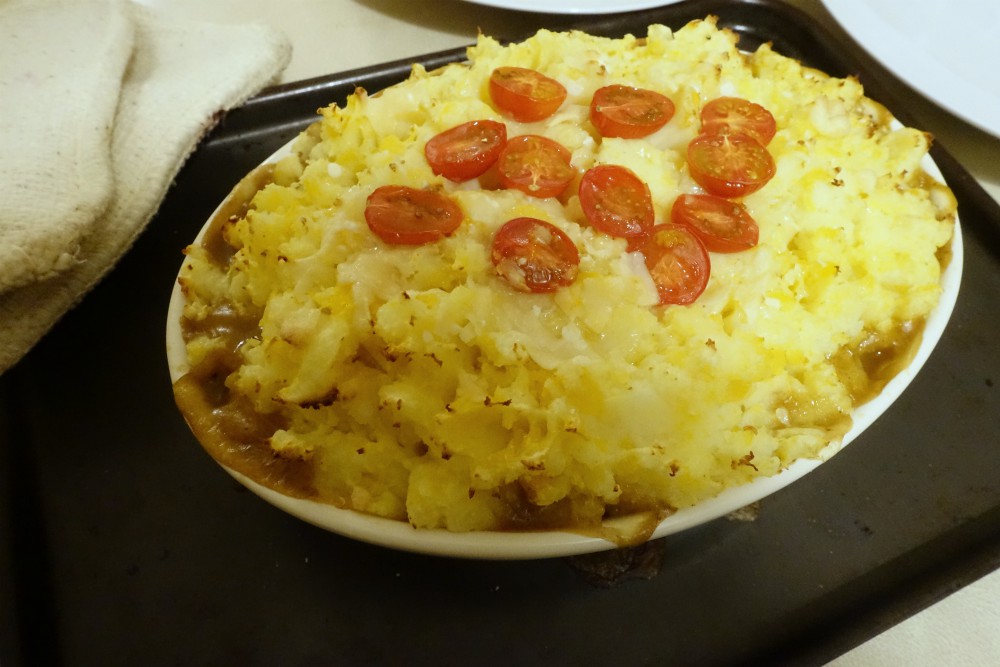
DH had his dentistry – it wasn’t quite 2.30 but close. He was very brave and didn’t even get a sticker and declined to have the tooth to keep. Afterwards I was on cooking duty whilst he cosied up by the fire and watched a film. We had a sheherds pie made with lentils of course and the remains will go with us tomorrow. I also made some quiche bases and I will fill and bake them before we set off for North Yorkshire. I will make a little one for mum to hang on to as she likes homemade quiche.
So that was my day how was yours?
To make the tablemats –
I bought a pack of Sainsbury’s teatowels in a thick linen type fabric. They usually measure about 19″ by 28″ and come in two or three varying designs in a pack.
I wash them first, then unpick the hems and cut each one in half so I have either four or six pieces. I usually mix and match so I have a different pattern on the reverse so I can flip them over.
Using a pattern 14″ x 19″ which includes a 1/2″ seam allowance – I pin this on the fabric and cut around to straighten up the tea towel fabric and make sure it is a perfect rectangle. Also cut out a piece of thick vilene to sandwich between the layers. With right sides together and a piece of vilene to the underside of one piece sew around the edges with a 1/2″ seam allowance, leaving a gap of about 5″ for turning through.
Trim seam allowance to 1/4″ and cut across the corners. Turn through and press. Neatly hand sew the gap to close. Top stitch about 3/4″ in from edge all way round.


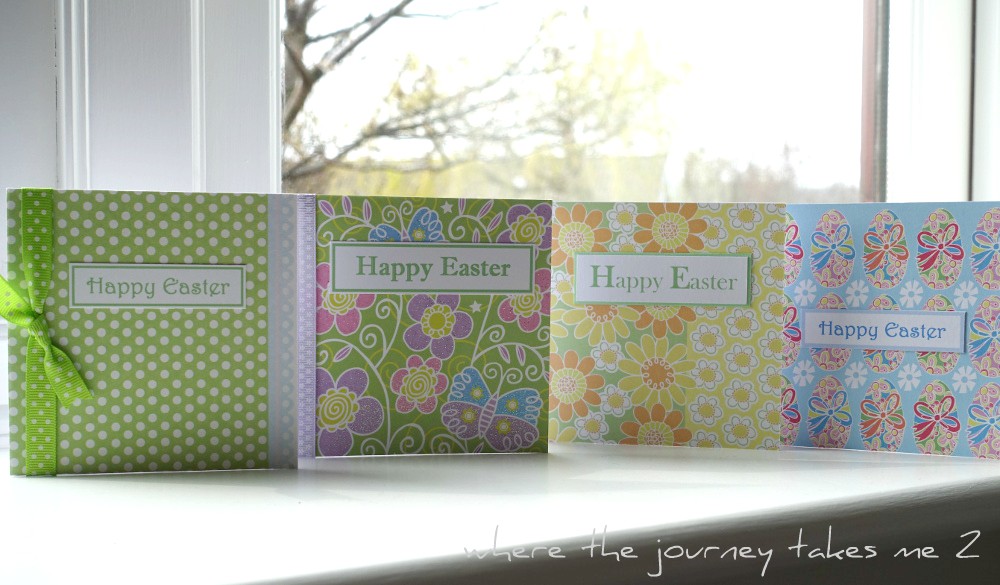 I was then left with these little card motifs in my craft box of embellishments…
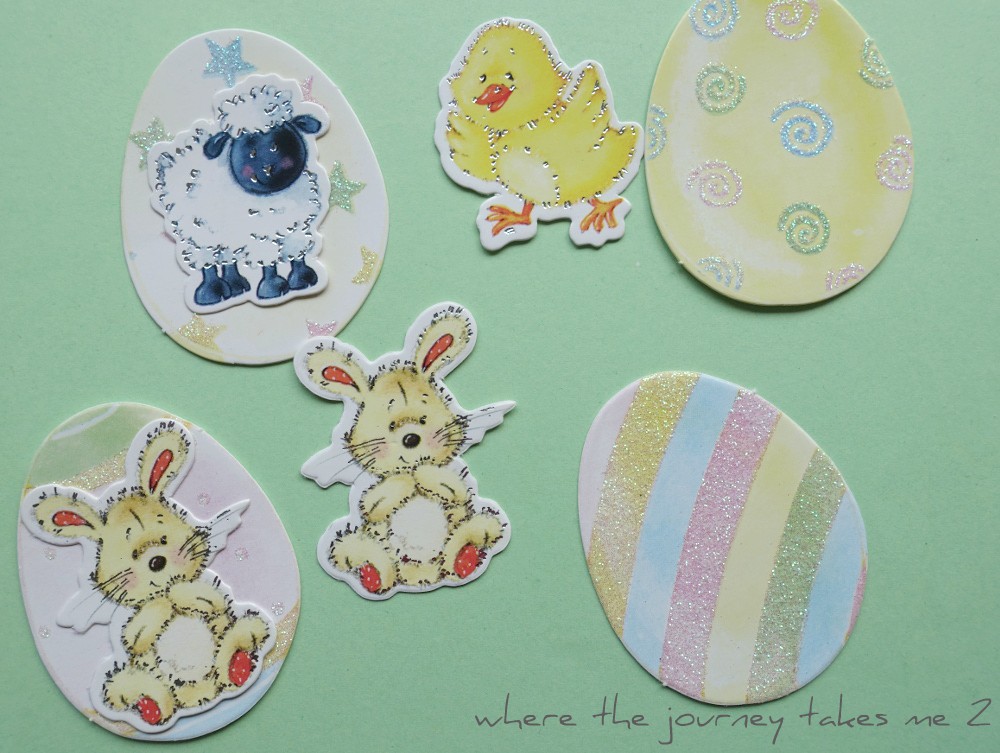 Cute little cut out Easter pictures… I am not even sure where they came from but I have had them for years now and they have escaped going into the give away box once or twice. So this time it was either use them or lose them.
 Once dry I stuck the little motif in place and voila….
 …these little bits have now made four delightful little Easter cards for the children – Libbie, Sweetie, Freddie and my great-nephew.
 On the back of each card I make I have a little stamp to say it is home-made. This one is my favourite from Vista print and given to me by my daughter one birthday, but I do have some rubber stamps too.
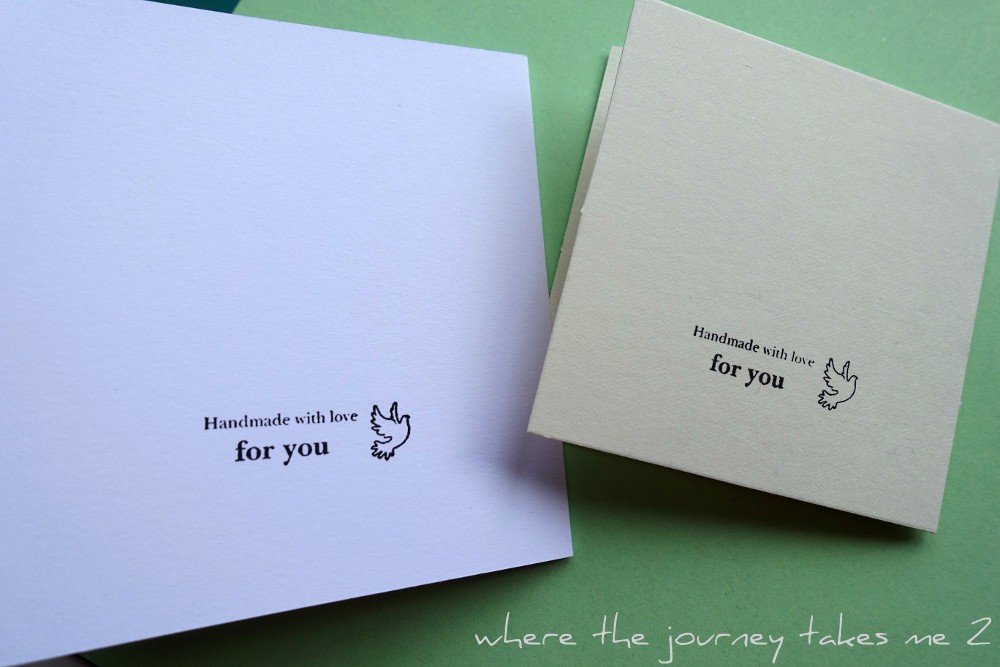 Remember the birthday card made from a piece of decorative packaging I found – it may have been an old Panettone box from Christmas or something – I followed the design and embellished it with some of those stick on jewels in golds and rich purple colours.
 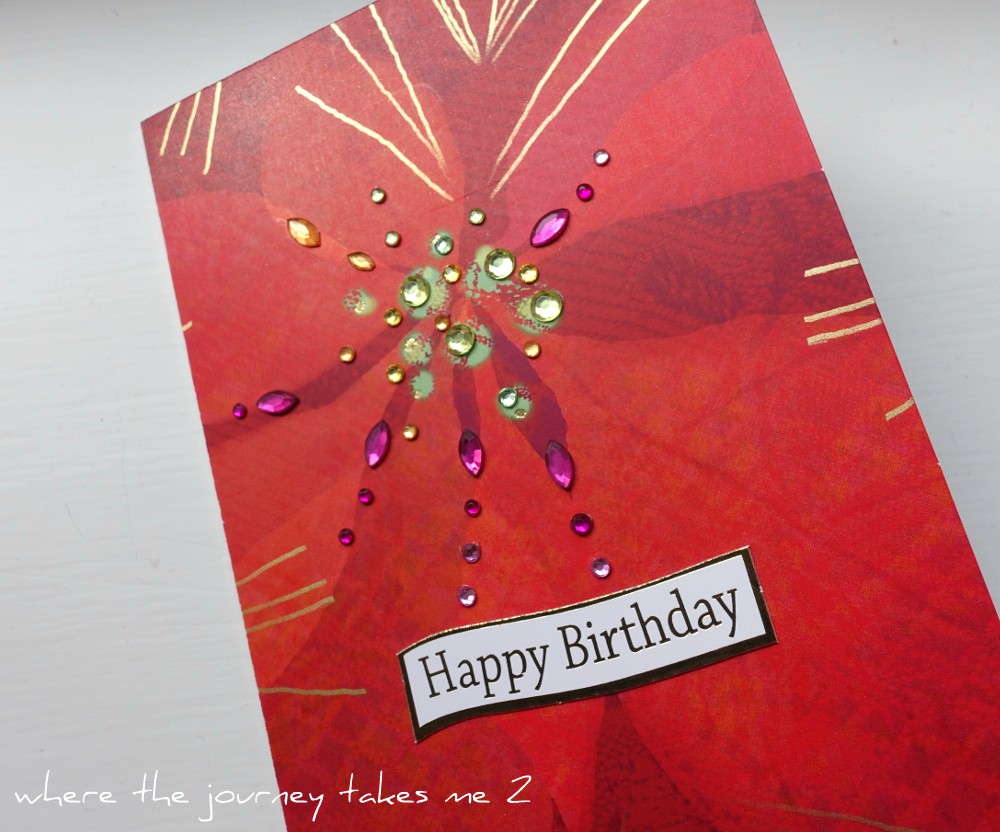 As well as stamping on the back of the card I often make a printed slip for the inside with a message. I think it gives a more finished look to a card and although I didn’t have time for this one, as I had to get it in the post, they do look lovely if you add a print too using a rubber stamp.
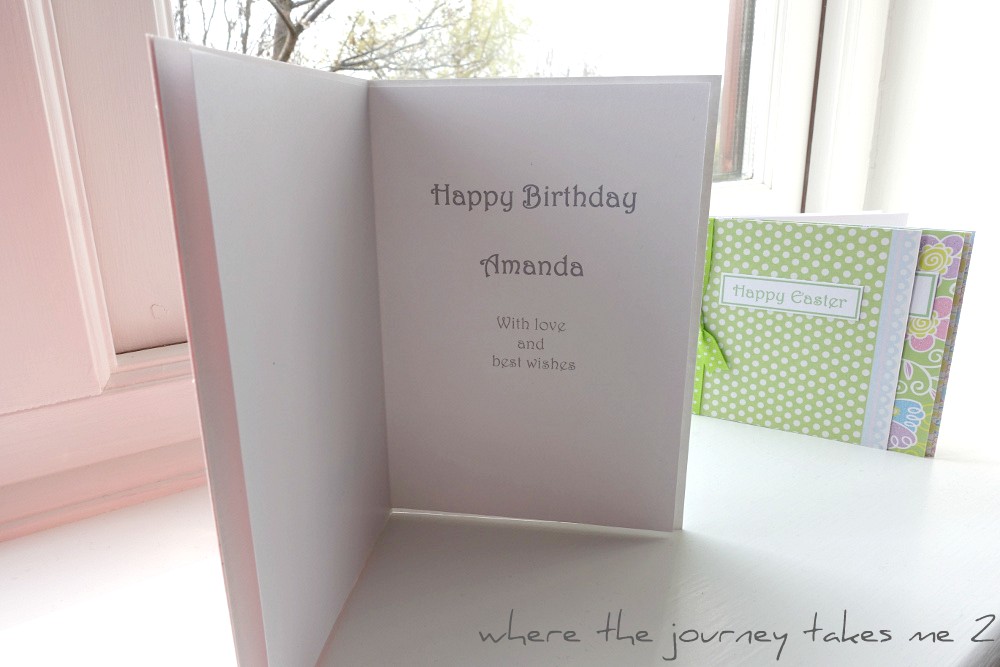 So even if you do not have any expensive equipment you can make some really simple cards using any decorative paper or card, a Pritt stick, some double-sided tape and a sharp knife. If you do not have a printer you can buy sheets of greetings labels; but equally you could get a rubber stamp and stamp onto some plain card and then add a border and cut out.
 …but I wanted to use up the some of lovely scraps of papers I have collected over time and do something rather different.
 The two below are actually made from some lightweight card packaging – I can’t even remember now what the packaging came with but again I saved it thinking it would come in handy for something. I was able to make matching tags too and I will add a greeting or other embellishment when I find something suitable.
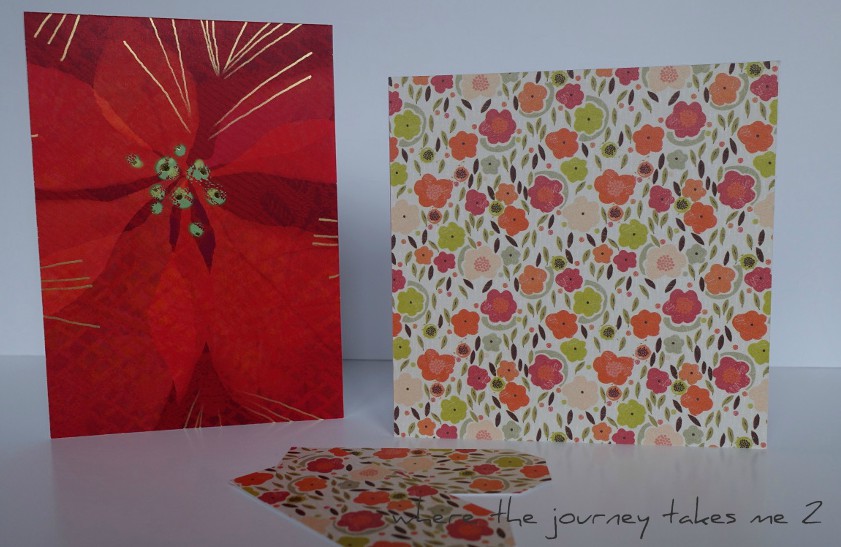 The next two are made by recycling cards that were given to me. I cut the front off the card on the left and placed some pearl pink paper behind before sticking it down on a card blank. The one on the right is a card front stuck onto one of those accordion card blanks and I will decorate the inside of this too by adding some suitable prose. For these and the ones above I used the double-sided tape here rather than Pritt stick to stick one onto the other as the old cards and packaging I am sticking down are a heavier weight than the papers I used on some of the smaller cards.
 Once I began there was no stopping me and it was one of those afternoons when you really feel you are ‘in the flow’ if you are familiar with the expression.
 So I added a little greeting to some of them – but some I will leave blank and then when I need a card I can add the most appropriate greeting at the time. Others I will make into Easter cards if I can find some Easter greetings in town.
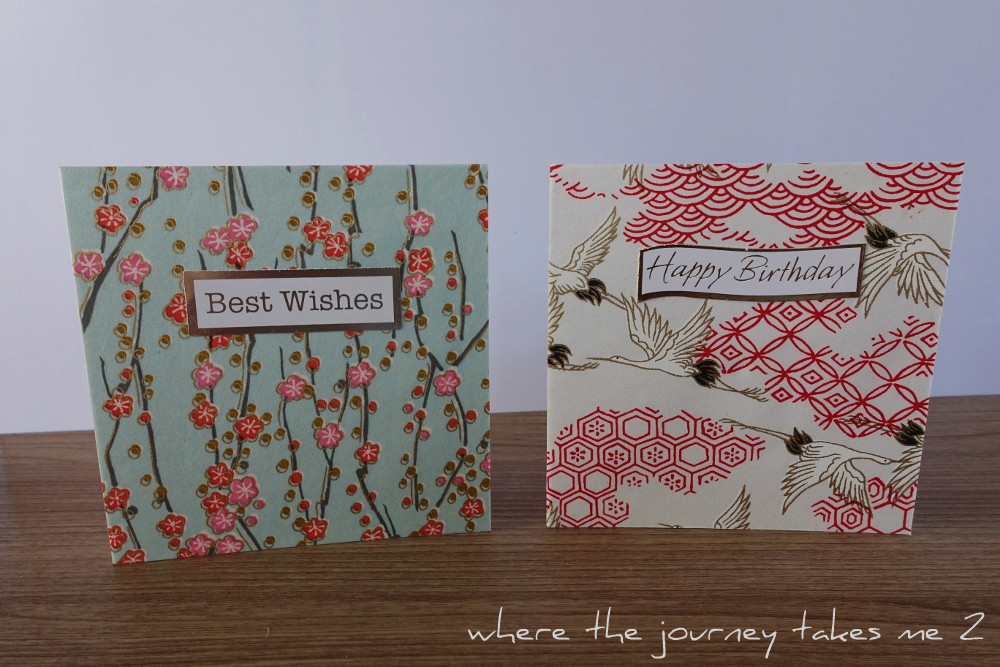

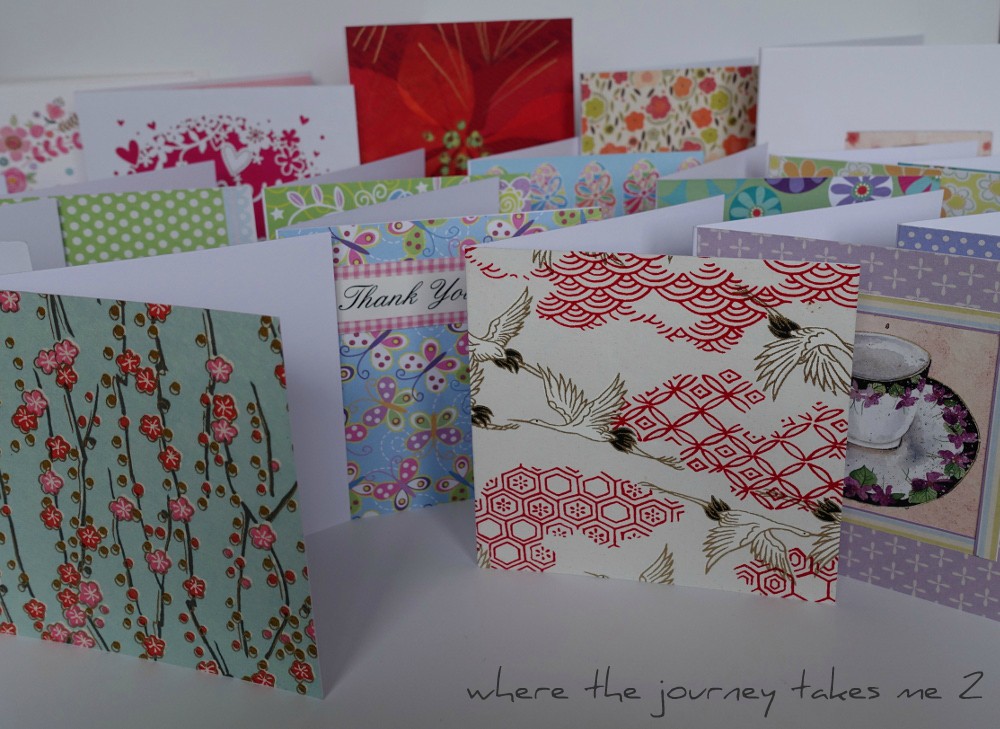
 Most of these are just the tiny Papermania cards – just less than 4″ square – and although very simple I think they are quite effective and a good way of using up old papers. So far I have made about twenty-five but I have card blanks and papers to do many more.