Hello everyone, I thought I would be back sooner than this but I have had no time to even switch on the computer in the last week or so. I moved from the 1st birthday event to preparing for the christening, the Crisis Christmas coffee morning at my local church, and my daughter’s move to her new house. Phew!
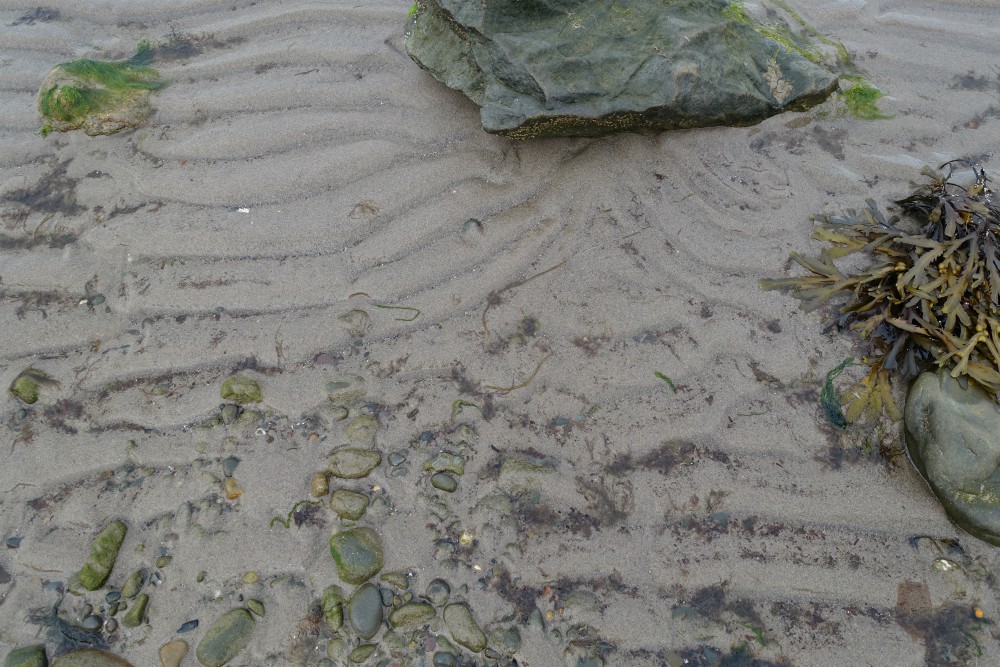
After spending two years in the middle of nowhere, other than a few isolated farms in the distance, my daughter moved to a nearby tiny village with people and neighbours around her. We will all miss these stunning views she had from her house across the valley and over the resevoir but it really is far more covenient where she is now and for the first time little L will have playmates around. These might be my last pictures of Leighton resevoir – the reflection of the bridge in the water was just superb.


So the weekend before last saw me scrubbing out her new rental property ready for the move last Thursday and for most of that time I had my head in the oven – never have I seen one that was so bad on the inside – even a bottle full of cleaner could not shift the welded on grease and grime on the roof of the oven. After all that cleaning the oven does not appear to work and there is a missing rubber seal round the top oven door. So the appliance man has been called for by the landlord, but I have said to push for a new oven as I would condemn that one as not fit for purpose.
With our part in the move completed I turned my attention to creating something to sell at the Crisis coffee morning which took place last Saturday morning…the day before the christening. Time was quite tight with so much to do so it had to be something quick and easy and that I could make within an hour.

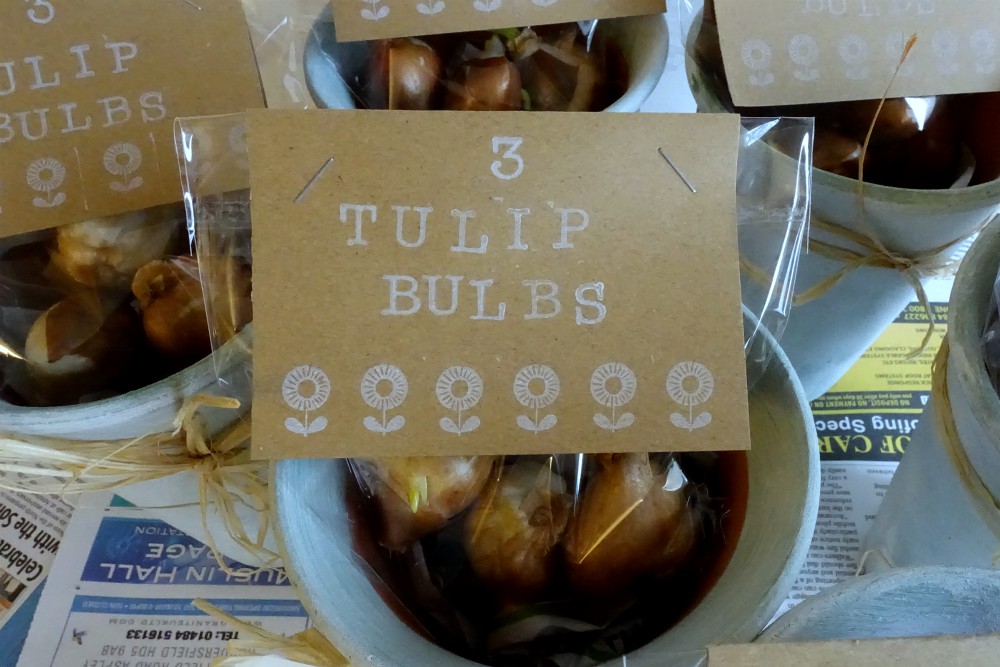
Remember the free pots I got from the lady in the village where our cottage is? I used six of these and a bag of 18 mixed tulip bulbs from Sainsbury’s for £3 to fill them. I stuffed each pot with a little crumpled newspaper and made up a cellophane bag (those that birthday cards are wrapped in) containing three bulbs – added a hand stamped label and nestled the pack of bulbs on the top……tied a piece of raffia around and …voila.

Most of last week was spent baking for the christening on Sunday. I made batches of fruit scones and cheese scones and three different quiches. Most of the other food was bought from M&S or local farm shops.
All was going well until we had a phone call from the vicar to say that the church boiler had broken down…is irreparable and warned us the church would be very cold during the christening and we might want to warn people to wrap up well.
It could only happen to us!!
And this was no understatement – it was freezing even though we were huddled together wearing thick coats, goves and scarfs (and in some cases with blankets over our knees and a hot water bottle for my poor mum). You could visibly see the congregation’s breath in the air as anyone spoke, and never have I seen steam coming off the water in the baptism font! A kettle of hot water had been added to warm it up a bit before ladelling over the baby’s head…..but little Freddie was so good and hardly flinched.

We had him wrapped up cosily in a warm shawl – here are the proud parents and Little L holding the baptism candle for her cousin.
The church ladies had baked our little party a few buns and made us a welcome cup of tea after the service which was such a nice guesture and helped to stave off the cold for a while. Once we were all in the heated village hall for the christening buffet we all began to thaw out a bit.

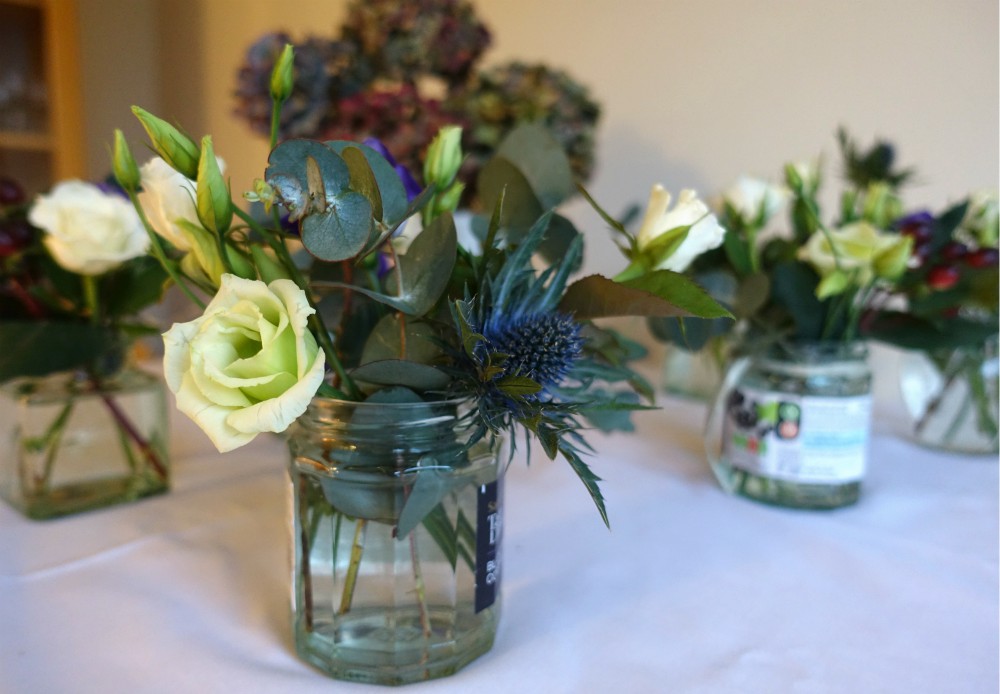
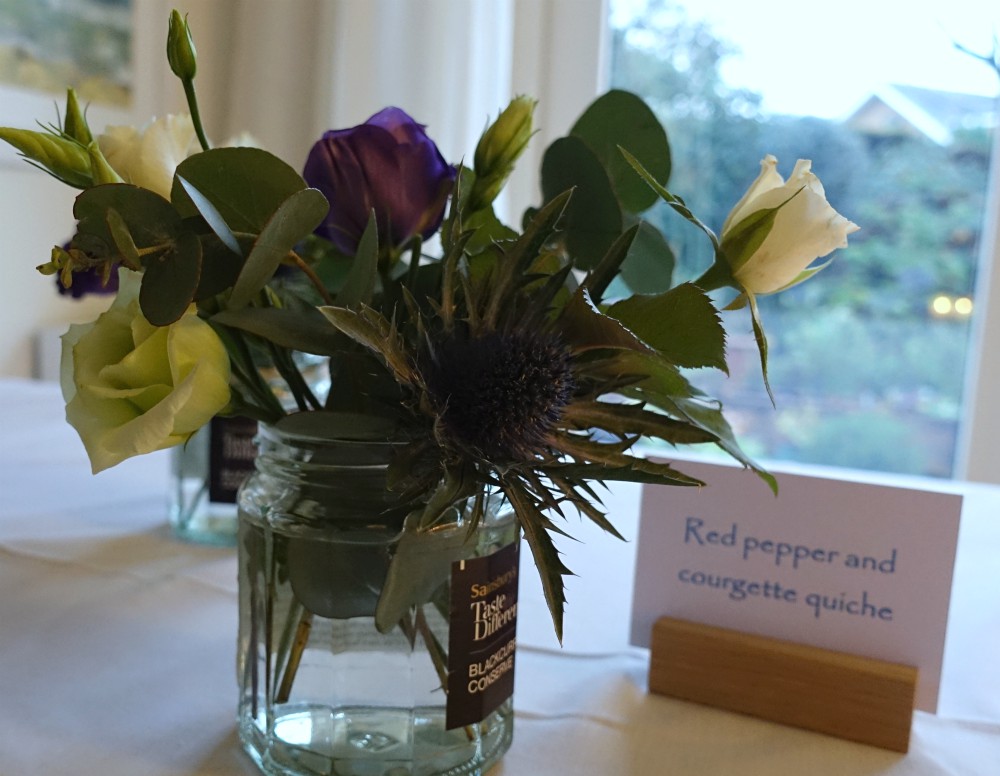
I was too busy on the day organising and laying out the food for our guests to take any photos of the hall with all the tables laid out – shame as it did look lovely – but I have a few pictures taken whilst I was making up the little jam jars of posies for the table settings and having a practice run at home the day before.
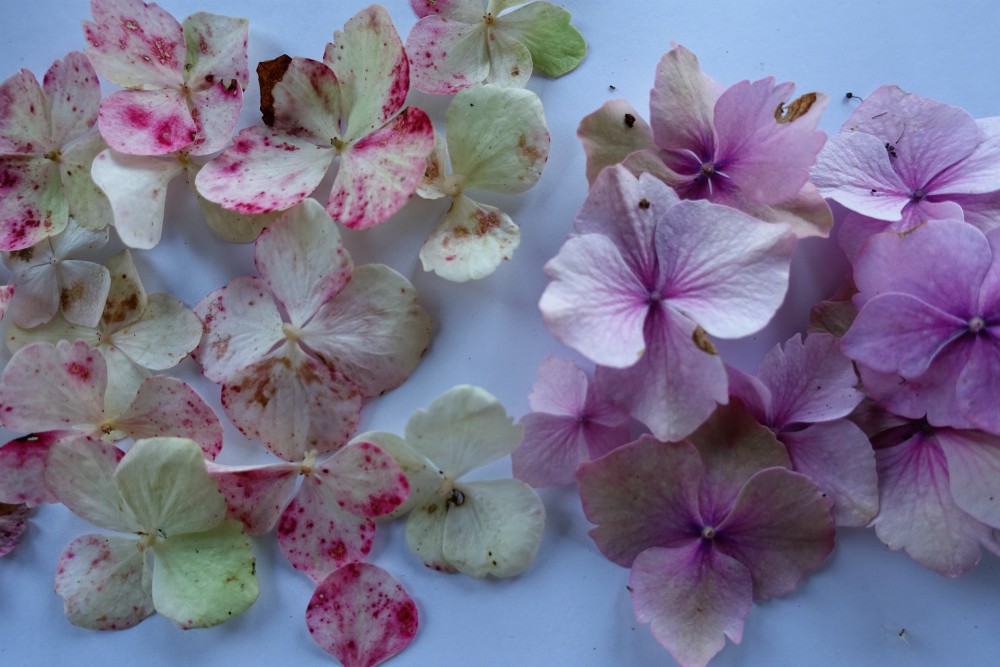
I used more of the ‘free’ pots for each of the five tables as centre pieces and filled them with dried hydrangea heads, carefully hiding the battery pack of the string of fairy lights in each pot.
We deliberately decided against the traditonal baby blue colours and instead chose muted autumnal heather colours of the dried hydrangeas. The posies of fresh flowers, hypericum berries, eucalyptus and thistle gave us the rich dark purple tones highlighted with a few cream roses and lisianthus.


The effect was just what we wanted and the warm glow from the candle votives and dotted fairy lights surrounding each centre piece really gave the whole room a lovely cosy autumn feel.


Everyone enjoyed the day – it is always lovely when all the family from both sides can come together for a catch up – we even had a cousin come all the way from Somerset.
So now it is time for a rest for a day or two and get my house back in order – then it is back up to North Yorkshire again next weekend to my sister’s to attend the talent show in her local village hall. My sister is taking part with her ‘secret’ talent but has also volunteered to replace a person who cannot make it – she is not sure what this person’s talent is yet but I hope that person is not the knife thrower….even worse…. the knife thrower’s assistant!!!
I have a lot of catching up to do in blogland as I have no idea what all of you have been up to – normal commenting from me should be resuming shortly!
Have a lovely week and welcome to my new followers. x


 I was then left with these little card motifs in my craft box of embellishments…
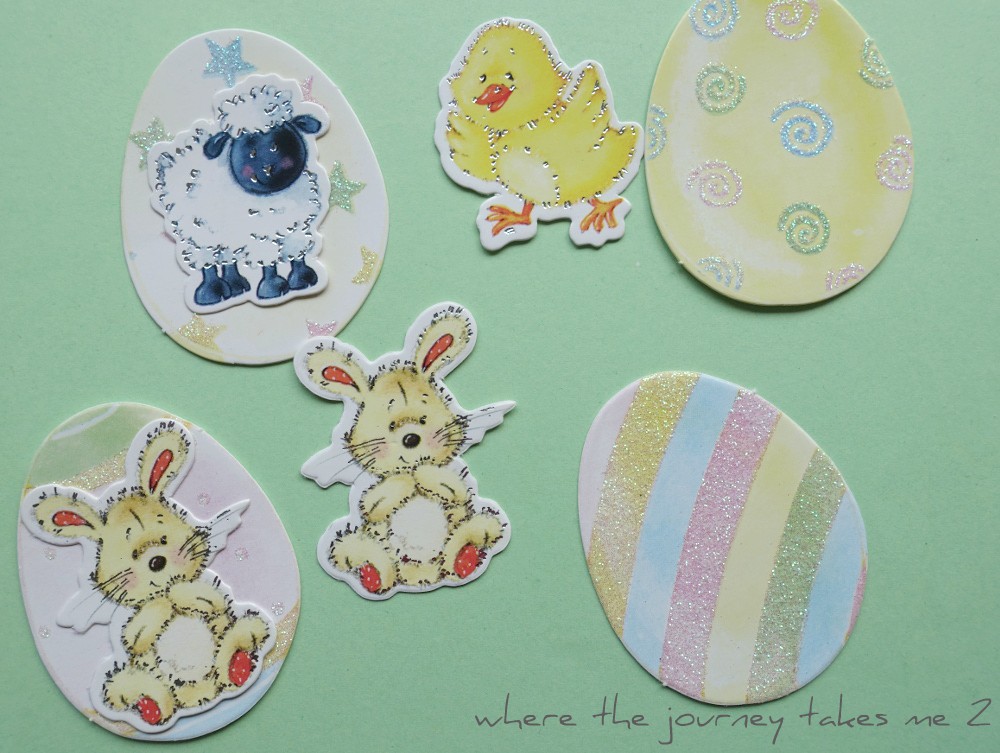 Cute little cut out Easter pictures… I am not even sure where they came from but I have had them for years now and they have escaped going into the give away box once or twice. So this time it was either use them or lose them.
 Once dry I stuck the little motif in place and voila….
 …these little bits have now made four delightful little Easter cards for the children – Libbie, Sweetie, Freddie and my great-nephew.
 On the back of each card I make I have a little stamp to say it is home-made. This one is my favourite from Vista print and given to me by my daughter one birthday, but I do have some rubber stamps too.
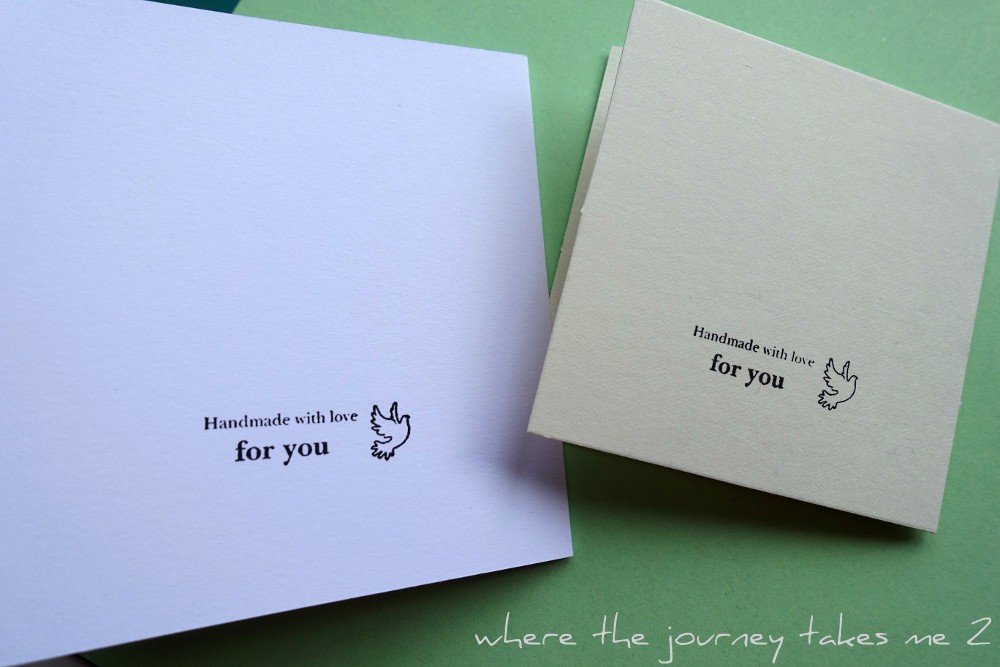 Remember the birthday card made from a piece of decorative packaging I found – it may have been an old Panettone box from Christmas or something – I followed the design and embellished it with some of those stick on jewels in golds and rich purple colours.
 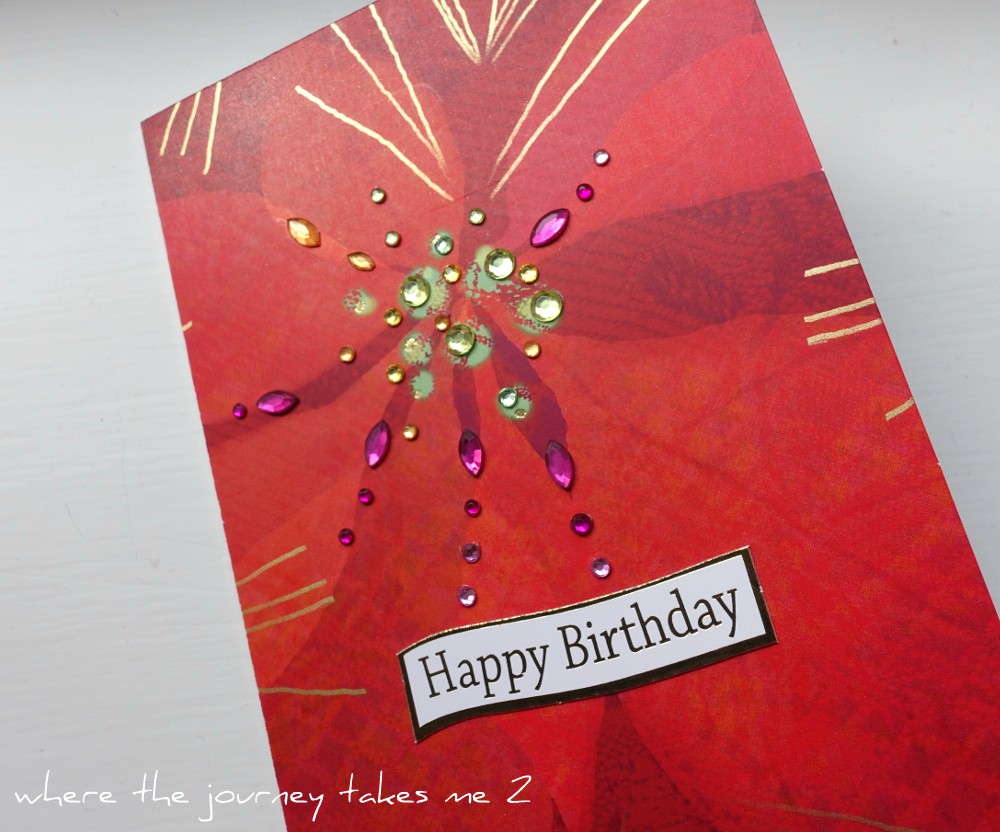 As well as stamping on the back of the card I often make a printed slip for the inside with a message. I think it gives a more finished look to a card and although I didn’t have time for this one, as I had to get it in the post, they do look lovely if you add a print too using a rubber stamp.
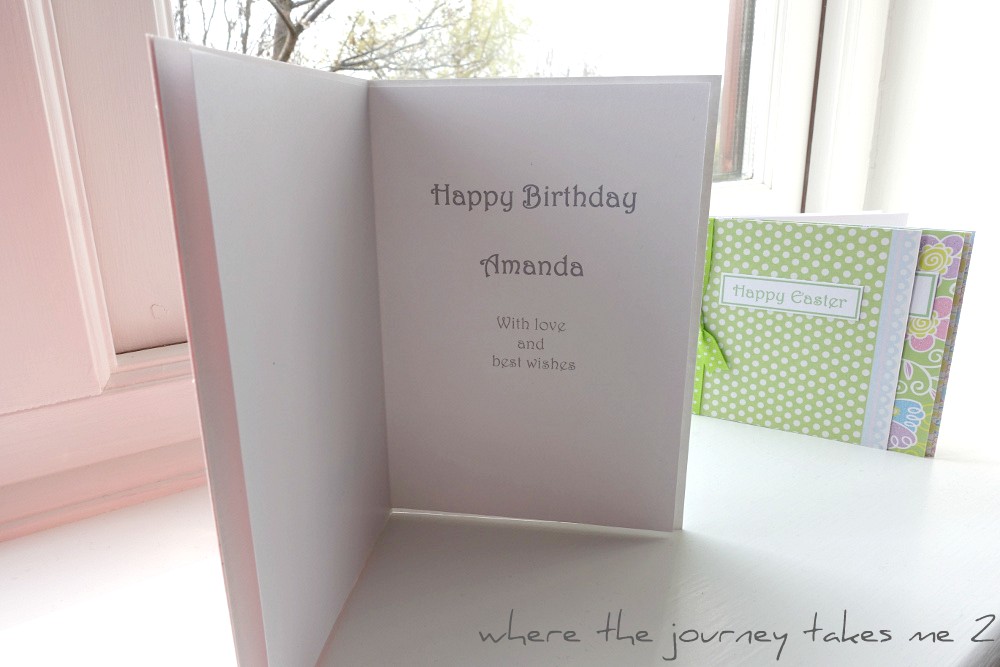 So even if you do not have any expensive equipment you can make some really simple cards using any decorative paper or card, a Pritt stick, some double-sided tape and a sharp knife. If you do not have a printer you can buy sheets of greetings labels; but equally you could get a rubber stamp and stamp onto some plain card and then add a border and cut out.
 …but I wanted to use up the some of lovely scraps of papers I have collected over time and do something rather different.
 The two below are actually made from some lightweight card packaging – I can’t even remember now what the packaging came with but again I saved it thinking it would come in handy for something. I was able to make matching tags too and I will add a greeting or other embellishment when I find something suitable.
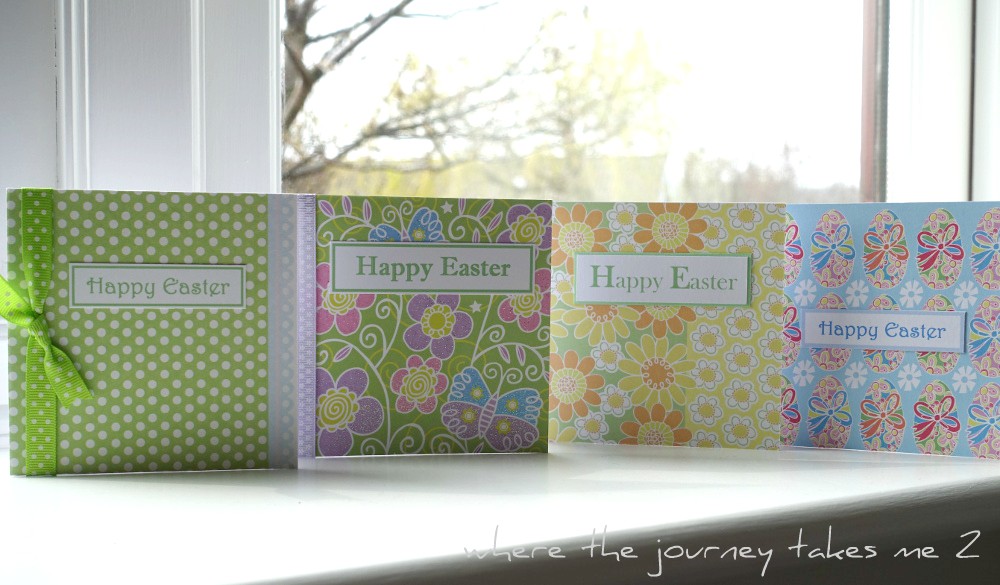
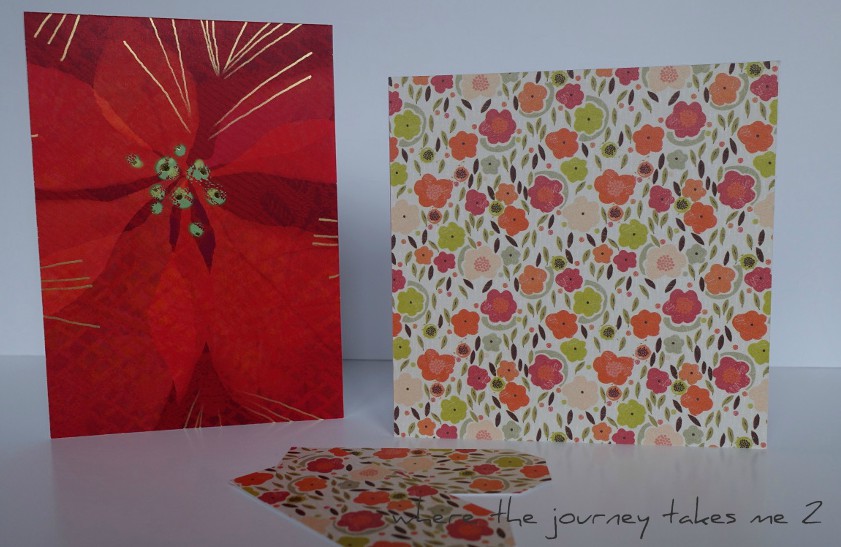 The next two are made by recycling cards that were given to me. I cut the front off the card on the left and placed some pearl pink paper behind before sticking it down on a card blank. The one on the right is a card front stuck onto one of those accordion card blanks and I will decorate the inside of this too by adding some suitable prose. For these and the ones above I used the double-sided tape here rather than Pritt stick to stick one onto the other as the old cards and packaging I am sticking down are a heavier weight than the papers I used on some of the smaller cards.
 Once I began there was no stopping me and it was one of those afternoons when you really feel you are ‘in the flow’ if you are familiar with the expression.
 So I added a little greeting to some of them – but some I will leave blank and then when I need a card I can add the most appropriate greeting at the time. Others I will make into Easter cards if I can find some Easter greetings in town.
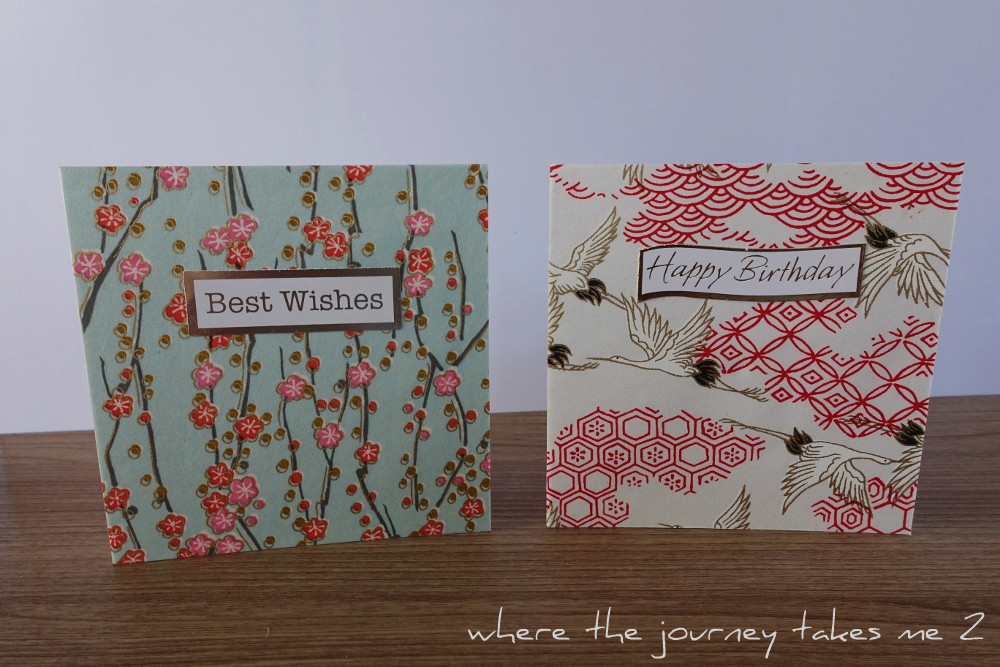

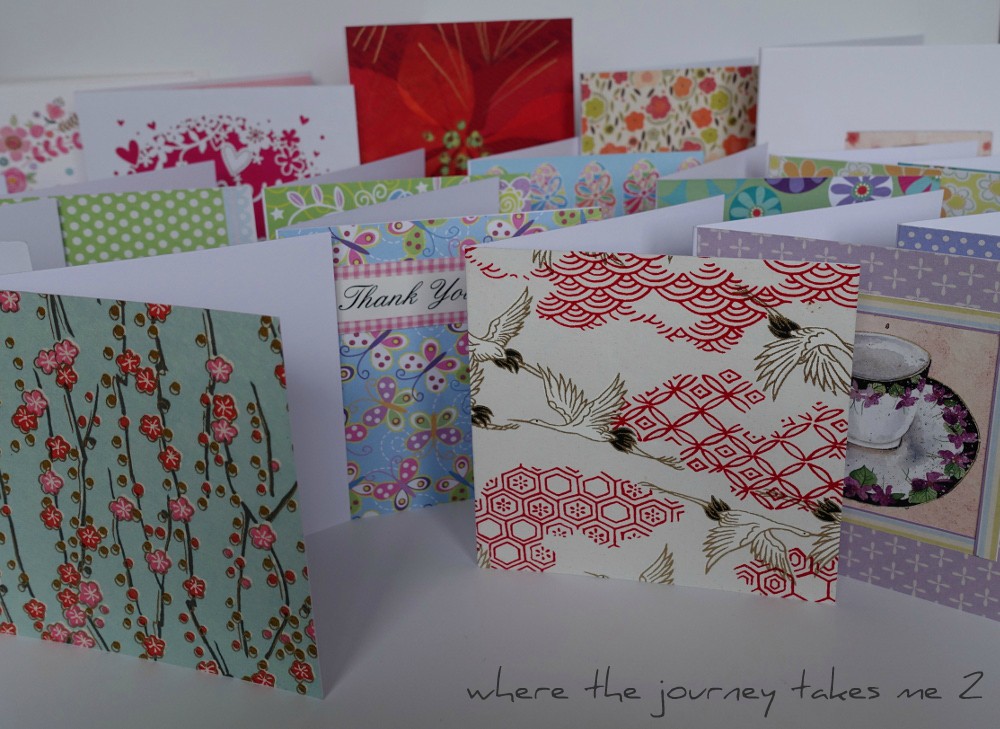
 Most of these are just the tiny Papermania cards – just less than 4″ square – and although very simple I think they are quite effective and a good way of using up old papers. So far I have made about twenty-five but I have card blanks and papers to do many more.