Before I begin apologies for the photo quality – I was losing the light by the time I took the pictures.
If you remember from one of my previous posts (click here) I had covered a number of blank cards in a variety of pretty papers from my craft pile to try to use them up. I set aside one or two to finish as Easter cards. This time, rather than buy the preprinted ‘greetings’ labels, I made my own on the computer and printed them out onto some card.
If you want to make your own I use a Microsoft word document where you can select a text box, a font design and a suitable size of type for the card. I then add a border around the greeting and once printed cut the labels out carefully, almost but not quite, to the border line leaving a small white edging.

I selected colours to match in with the prints and used different typefaces. I also added a ribbon decoration to some of the cards to finish them. Extremely simple and easy to make but I quite like the simplicity.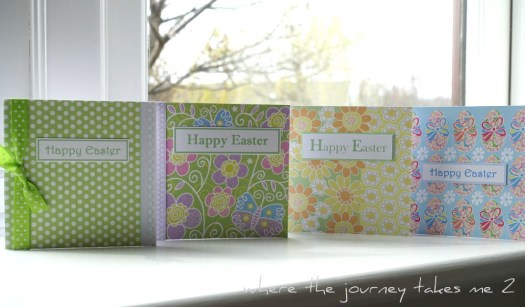 I was then left with these little card motifs in my craft box of embellishments…
 Cute little cut out Easter pictures… I am not even sure where they came from but I have had them for years now and they have escaped going into the give away box once or twice. So this time it was either use them or lose them.
I stuck the rabbit, chicken and sheep onto the Easter egg shapes and then placed them onto a small square card blank. There was no room to add a printed greeting so I decided to use my little alphabet stamps and just stamp straight onto the card. There was no need to be too exact – I actually like the lettering more when it is a bit wonky! Once dry I stuck the little motif in place and voila….
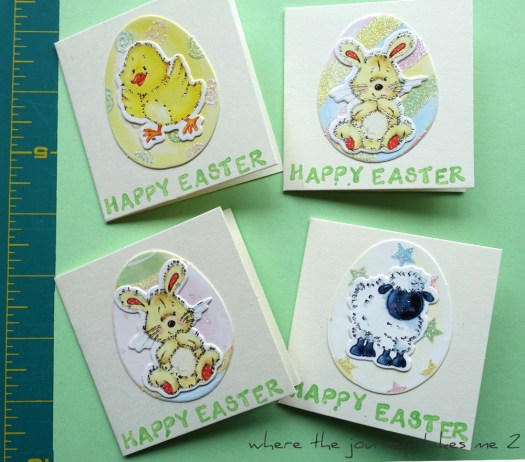 …these little bits have now made four delightful little Easter cards for the children – Libbie, Sweetie, Freddie and my great-nephew.
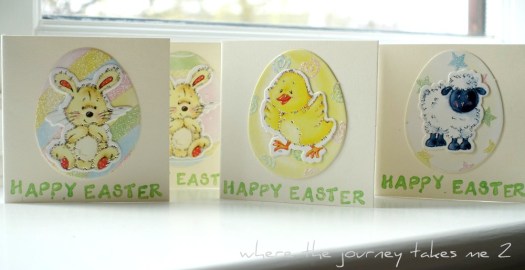 On the back of each card I make I have a little stamp to say it is home-made. This one is my favourite from Vista print and given to me by my daughter one birthday, but I do have some rubber stamps too.
 Remember the birthday card made from a piece of decorative packaging I found – it may have been an old Panettone box from Christmas or something – I followed the design and embellished it with some of those stick on jewels in golds and rich purple colours.
  As well as stamping on the back of the card I often make a printed slip for the inside with a message. I think it gives a more finished look to a card and although I didn’t have time for this one, as I had to get it in the post, they do look lovely if you add a print too using a rubber stamp.
 So even if you do not have any expensive equipment you can make some really simple cards using any decorative paper or card, a Pritt stick, some double-sided tape and a sharp knife. If you do not have a printer you can buy sheets of greetings labels; but equally you could get a rubber stamp and stamp onto some plain card and then add a border and cut out.
I am enjoying doing a few more creative things when I have the time and it does reduce the mountain of crafty bits and pieces I have been storing all these years – I was thinking of getting rid of some of it but that seemed a shame when in an afternoon I can make something useful. I like the challenge of creating something from very little so I think my next project will be using up scraps from junk mail, magazines and even the decorative parts of the inside of an envelope to make some cards.
A day spent creatively sticking and stamping. x

 …but I wanted to use up the some of lovely scraps of papers I have collected over time and do something rather different.
 The two below are actually made from some lightweight card packaging – I can’t even remember now what the packaging came with but again I saved it thinking it would come in handy for something. I was able to make matching tags too and I will add a greeting or other embellishment when I find something suitable.
 The next two are made by recycling cards that were given to me. I cut the front off the card on the left and placed some pearl pink paper behind before sticking it down on a card blank. The one on the right is a card front stuck onto one of those accordion card blanks and I will decorate the inside of this too by adding some suitable prose. For these and the ones above I used the double-sided tape here rather than Pritt stick to stick one onto the other as the old cards and packaging I am sticking down are a heavier weight than the papers I used on some of the smaller cards.
 Once I began there was no stopping me and it was one of those afternoons when you really feel you are ‘in the flow’ if you are familiar with the expression.
 So I added a little greeting to some of them – but some I will leave blank and then when I need a card I can add the most appropriate greeting at the time. Others I will make into Easter cards if I can find some Easter greetings in town.

 Most of these are just the tiny Papermania cards – just less than 4″ square – and although very simple I think they are quite effective and a good way of using up old papers. So far I have made about twenty-five but I have card blanks and papers to do many more.
 I chose this pattern by Sirdar as it said easy knit (I might question that!) and I like the fact the yarn called Baby Crofter, although random, looks a bit like Fair Isle as you knit.
 I took the time to wind off some of the wool so I could begin the second sleeve at the same point in the yarn as the first so they match and also match up with the pattern of the front and back.
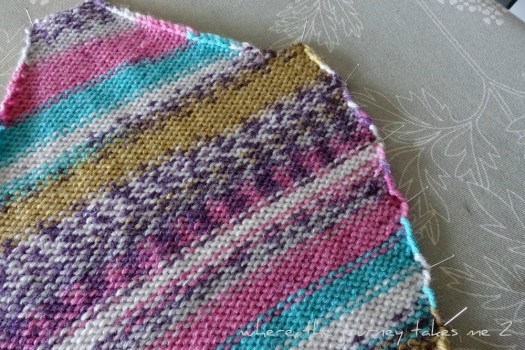 I have finished the main body of the jumper and need to press and stitch it together so I can pick up around the neck to continue and knit the hood – that will be fun!
 I am not sure if Sweetie will want to wear granny’s knitted effort when I have finished it but she is still young enough not to bother too much whereas Libbie (Little L) will be much more fussy I think so I need more practice before I make something for her. I am thinking of one of those summer dresses with a little knitted bodice and fabric skirt.
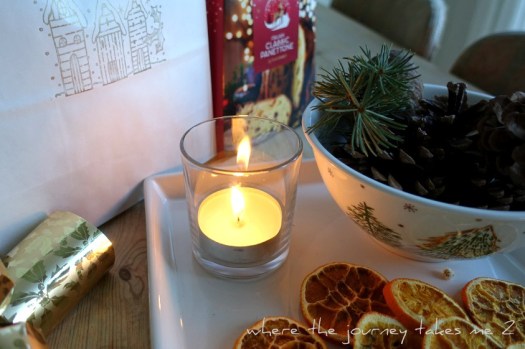
 Christmas Eve has arrived. There was still a lot of hustle and bustle in the village earlier – the last-minute dash to the Co-op and Post Office for those forgotten items; but in the main people are settling down at home now and soon calm will descend on the village again. We were out this afternoon completing my final Advent task. This is how my Advent days 19 to 24 panned out…
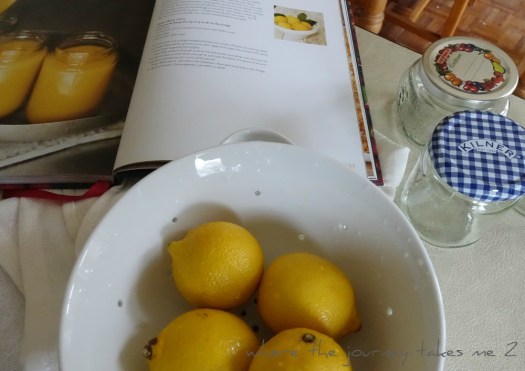
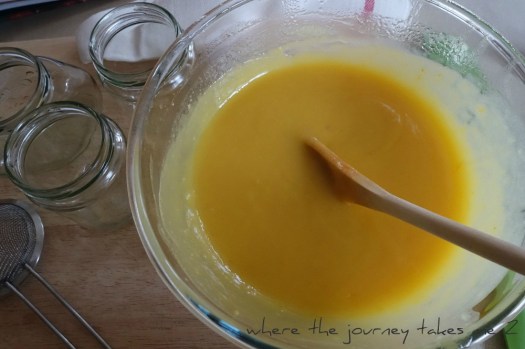
 I had just four organic lemons to make some lemon curd – there was enough for 3 jars – one jar went to my younger daughter yesterday and another into a home made hamper for my elder daughter and of course one saved just for me for my toast tomorrow.
 For each friend we chose a selection of photos some months included pictures of themselves (unseen footage) and we also found photos of places they might recognise.

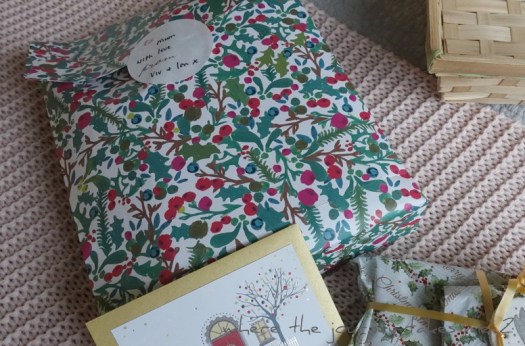
 With difficult presents I wrap them in tissue paper and then put them into plain craft bags that have been stamped or you could stick a Christmas picture onto the bag from an old Christmas card.
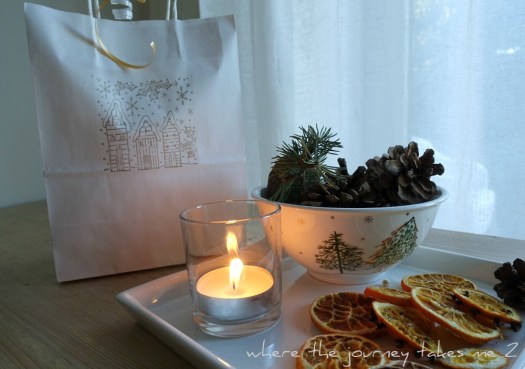 The calendars were wrapped in plain brown paper and then stamped with snow flakes.
 I also keep a roll of wrapping paper when I want something just a bit special and try to tie in the colours of the paper with a tag made from …you guessed it…an old Christmas card.
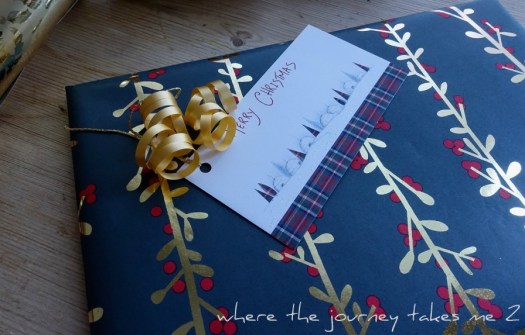
 Two glass owls, 5 baubles in the shape of pine cones and a tiny red father Christmas.
