creating Christmas * day 1

The Advent Calendar

Doesn’t everyone just love an Advent calendar.

No matter what shape or size, whether full of goodies or just little pictures, opening each individual door to discover a surprise each day is still as exciting now as when I had my very first one.

For all of my childhood the calendar would be of a Christmas or Nativity scene with a small picture behind the door, it wasn’t until sometime in the 80’s that I first bought one containing chocolate for my daughters and now they are very much the norm and this has escalated in the last few years and you are likely to find anything from a tea bag to gin.

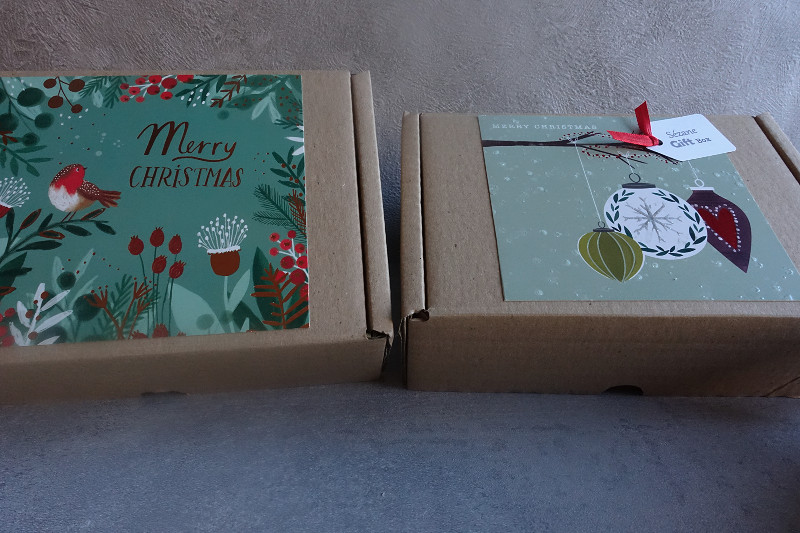
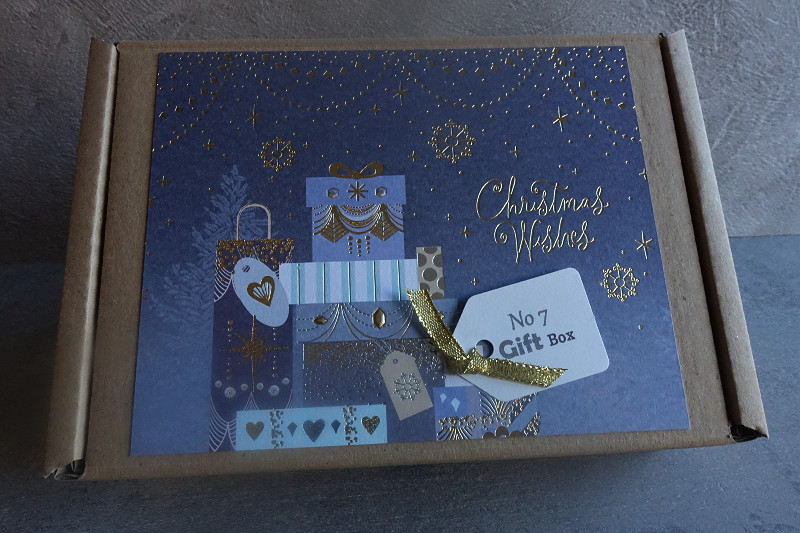
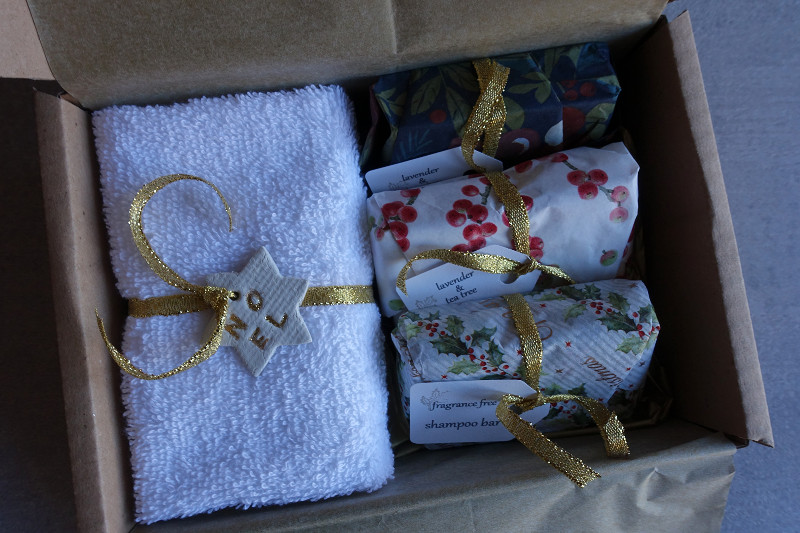
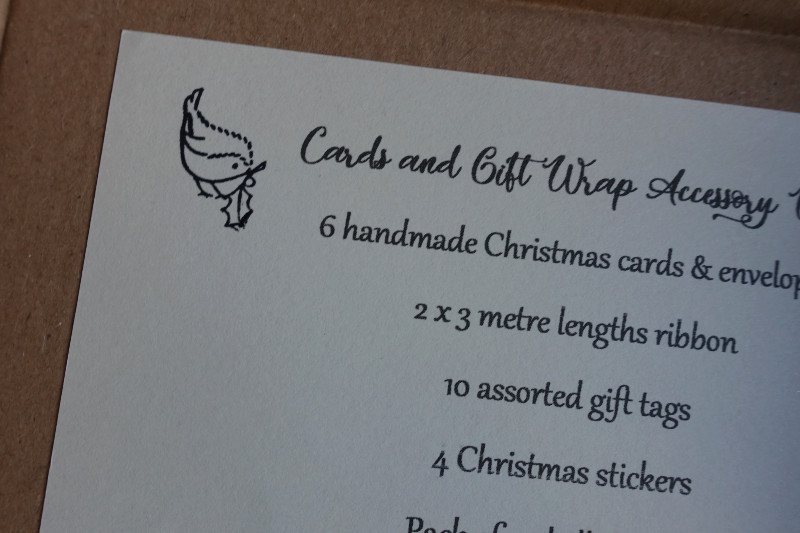
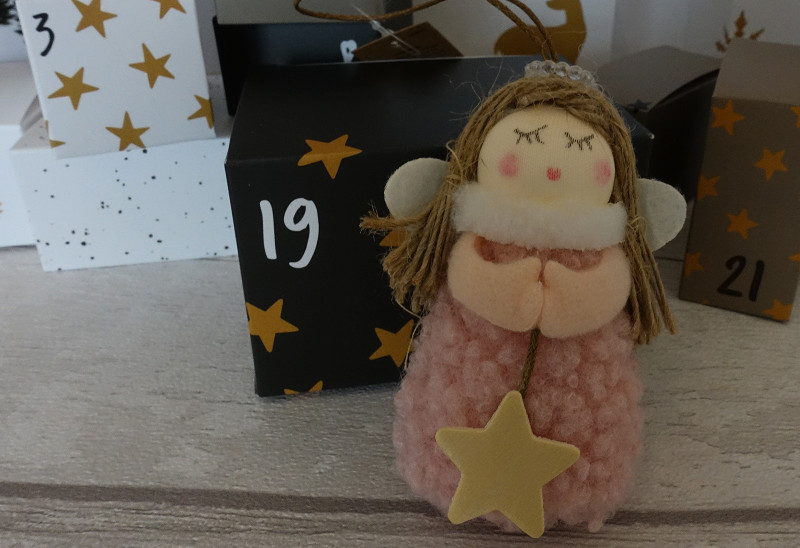
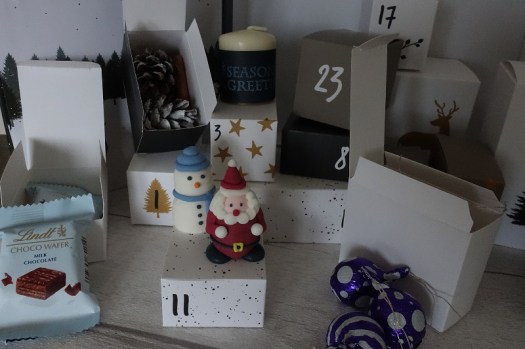
In 2023 I bought these lovely Advent boxes from the Tiny Box Company and filled them with little presents for both my daughters. (This is not a paid recommendation)

This year I had ideas to make some little stitched chocolate parcels and hang them from a branch, but that was a bit adventurous for the time I had, and then whilst looking for some card the other day I came across one that I had started a few years ago and never finished.

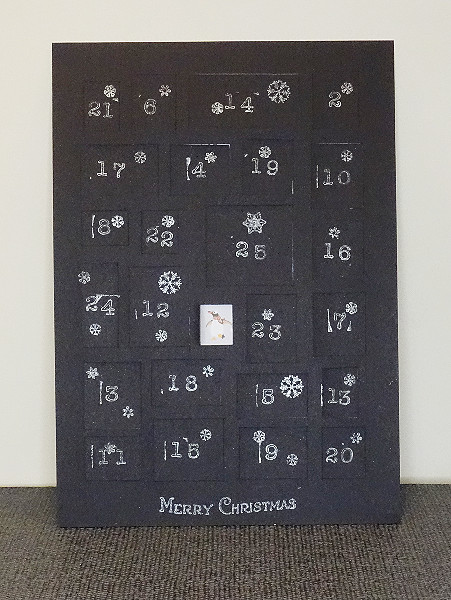
It is just a basic homemade, very traditional style calendar with no sweets, just pictures; but such fun to make and easy to do with the children too.

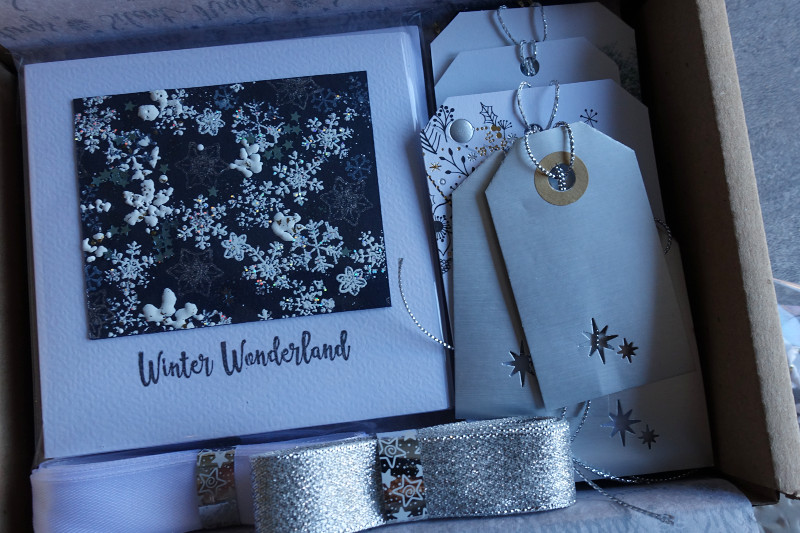
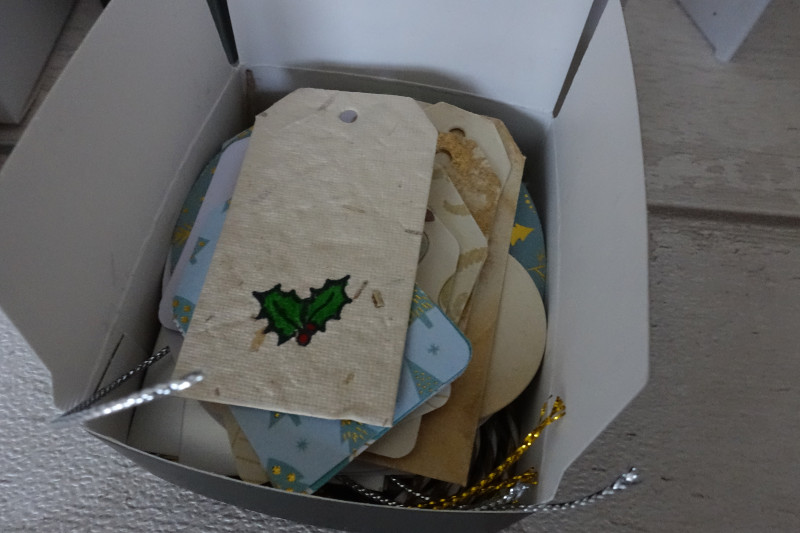
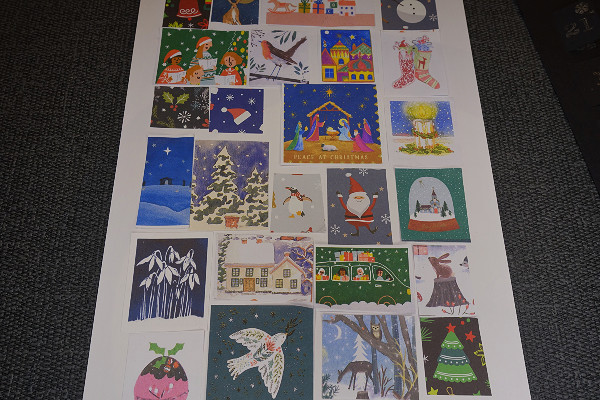
Just collect together any pictures from old Christmas cards, tags or wrapping paper – even Christmas pictures from magazines are fine. I had a mixture of materials and where a picture was too big for the window I just copied and reduced it on the photocopier.

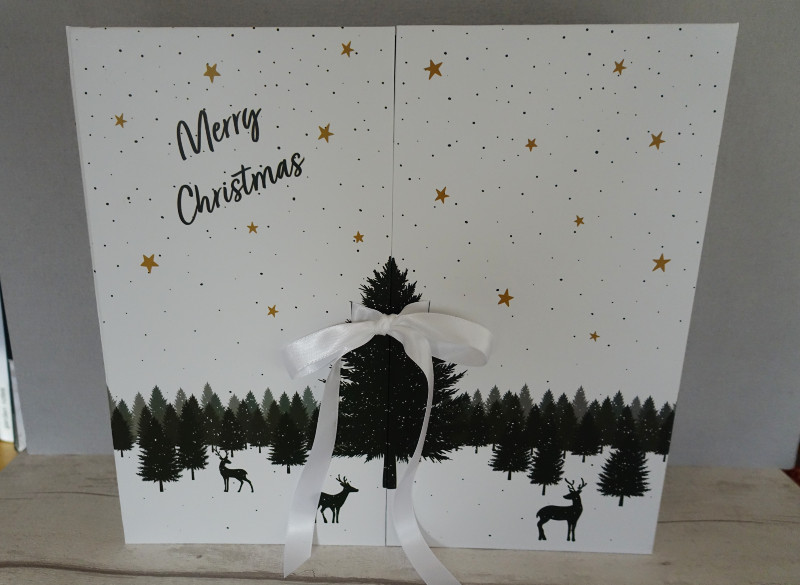
Then make a plan of 25 differently shaped rectangles on a sheet of A4 paper, leaving a margin around the outer edges. I used a piece of thin black card for the front of mine.

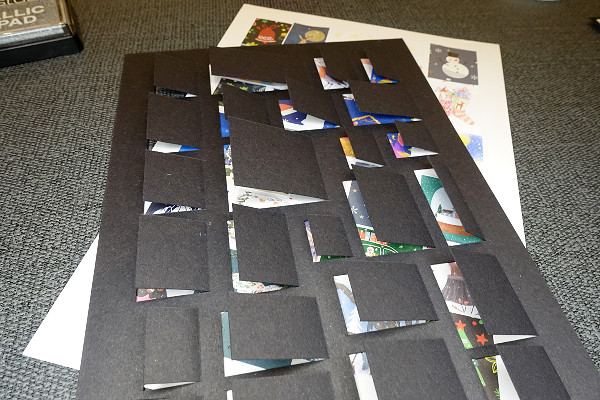
Cut out the 3 opening sides with a sharp knife. Fold back the door to the inside of the card on the uncut side. This prevents the doors springing open too soon on the finished calendar.

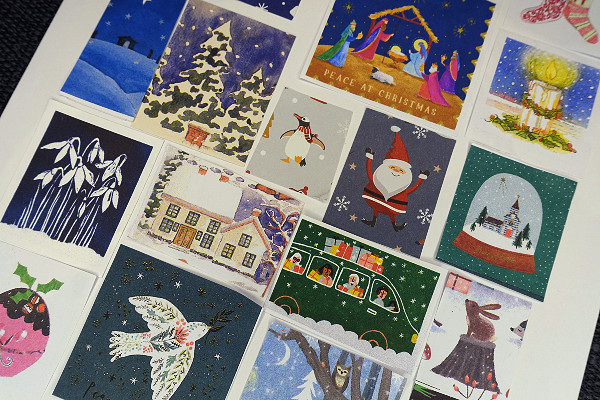
Using the same plan on a sheet of white A4 paper cut out suitable pictures for each window and stick in place on the sheet.

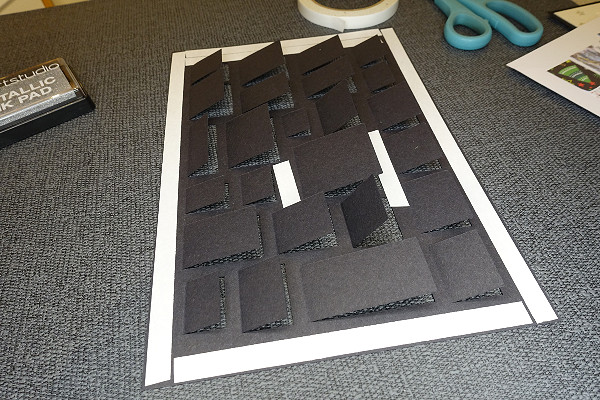
Cut some double sided tape to fit around the outer edges and one or two pieces in the middle (this will hold the two sheets firmly together). Place the right side of the picture sheet to the underside of the door sheet carefully aligning the edges and press firmly together.

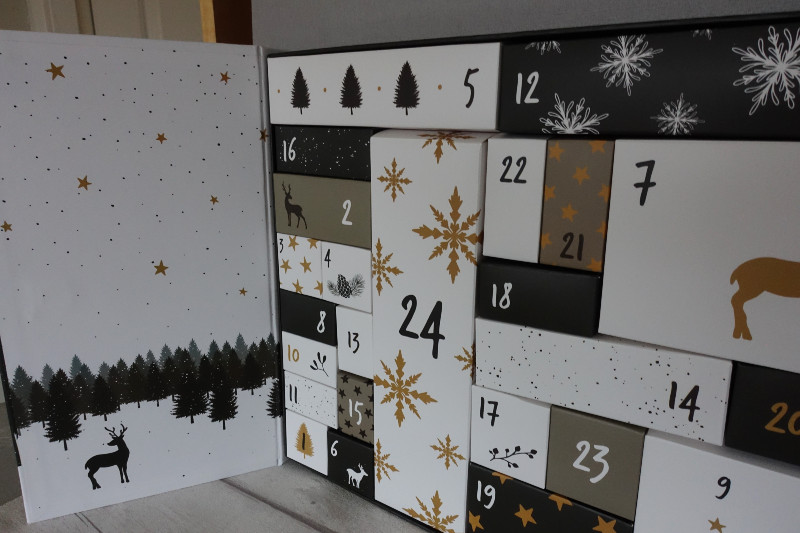
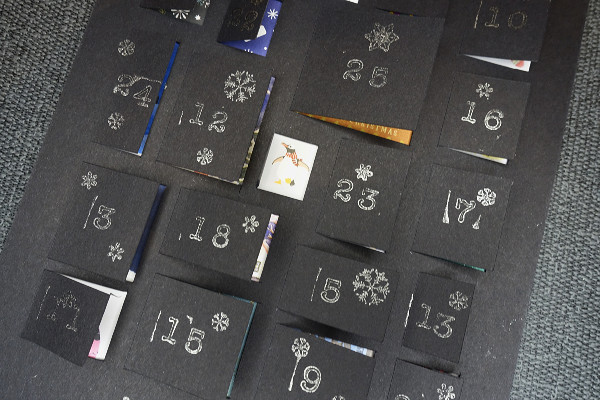
Stamp a number onto each door one through 25 and add a bit of decoration. Mine is quite basic and a bit rushed. I always prefer to have the 25th day a picture of the Nativity and the largest window.

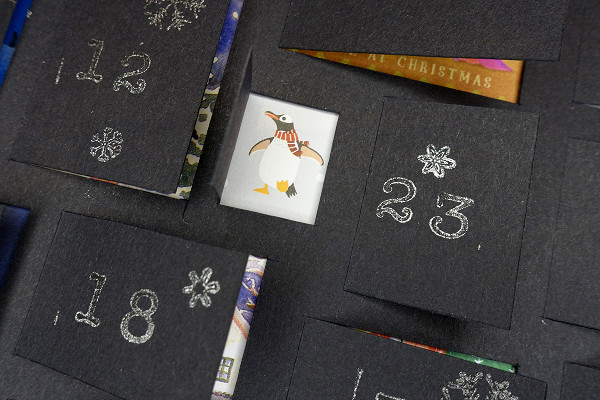
Behind today’s door No 1 is a cute festive penguin.

If you want to hang it on a wall then just punch a couple of holes at the top edge with a hole punch and thread through some cord or ribbon.

Whatever style of Advent you have for yourself I hope you will enjoy opening it. X

creating christmas * the ups and downs

Since we got back from Scotland last Monday it is all go here….I am not sure if I am creating Christmas or if it is just creating itself. I think the latter. I have simplified, but I am still far too busy.

There are some issues that always arise at Christmas – the car, washer, fridge, oven stop working – well this year we have the ‘condemed’ gas fire (only because we cannot get a new part - the ceramic tray beneath the coals) and our heating boiler requires more than a service and so the manufacturer will have to come out and rectify a fault (though we can still run the boiler, thankfully and have heating in the radiators). The Christmas lurgy has also struck and we are two men down (Master Freddie and baby Chocolate both have a digestive bug – I won’t mention anymore details on that issue!). Oh, and did I mention mum has been ultra busy in the complaints department and upsetting anyone who enters her flat! She keeps trying to ring me on the TV remote and change channels with the phone but says it is not her that is doing anything wrong it is the TV and phone that need replacing and we cannot persuade her otherwise.

On the good side I have managed to get icing on the top of the cake ready for the little ones to decorate.  I also, with great relief, put my cards in the post box on Thursday (4 days before the last posting day – must be a record for me as I am often waiting for the ink/paint to dry when I make my own. The lights which DH put up in November were ready and waiting to be switched on in December and the Christmas pyjamas for the little ones, ordered in late October, are all ready in their respective Christmas Eve boxes.

This weekend we are childminding – not sure whether it will be 2 or 3 but only 2 will sleep over tonight. I have plenty lined up to keep them busy – Christmas plates to paint, table place cards to make, our Christmas tree and the cake to decorate. Today we are going to Nostell Priory to see the Pantomime themed decorations in the house and, weather permitting, have a brisk walk around the grounds to spot the woodland fairies.

This coming week we have our hair appointment, a dental appointment and then lots of dropping in on friends to exchange gifts, have a festive drink and a natter.  Lovely.

Every year our church holds a coffee morning at the end of November to raise money for the charity Crisis who help the homeless over the Christmas period. Each year I make some Christmas gifts to sell on the gift stall and this year my idea was to find some empty craft boxes and fill them with various items for someone to give as a present or use themselves. 

The craft boxes are quite inexpensive and I used old Christmas cards to decorate the top. I made up six boxes in all – once I got into the swing of things and made a prototype I could have made more but time as usual was the big constraint and I had to photograph all these in a rush before I put them on the stall so I apologise for the poor photo quality.

Inside each box the contents were carefully concealed under pretty leaves of tissue paper to add to the surprise. Three of the boxes contained toiletries or beauty items that could be given as a gift.

My daughter donated these brand new No7 skin care products and I added a face cloth.

She also donated some rather gorgeous French make up that came with an equally gorgeous cotton printed scarf.

I had a number of unused shampoo and conditioner bars that were given to me as gifts but far too many for me to use so I wrapped some of them in pretty sheets of tissue and added another face cloth in this box.

The other three boxes consisted of homemade cards and gift wrap accessories – gift tags, ribbon or twine and a little pack of matching embellishments made up from bits and pieces in my craft stash.

I made three designs of cards in differing colour schemes and chose the accessories to suit – ‘Winter Wonderland’ was my favourite in cool white and silver.

‘Happy Christmas’ was the more natural pack…..

…and ‘Holly Jolly Christmas’ the traditional red and gold.

Whilst searching online for the craft boxes I came across these lovely Advent boxes that contain 24 boxes to fill yourself. All the boxes are from the Tiny Box Company www.tinyboxcompany.co.uk - (Just to be clear I am not being paid to mention their website or endorsing their products but if you are interested then follow the link they have some lovely packaging).

I decided my two daughters would love them and so bought them one each and then had great fun finding things to put in them. Everything had a Christmas theme and some items I made and some I bought.

The grandchildren have loved waiting to see what surprise is in each one as much as my daughters – I included Christmas balloons, string lights, baubles, cake toppers, a mini pot pouri box of pine cones, cinnamon sticks and dried oranges and even some home made gift tags and thank you cards.

Of course, as many of my long time readers will know, since my two girls were little, each year they have found an angel in the top of their stocking and this year is no exception only instead of in their stocking she is the surprise on day 19.

So if I don’t get back here again before Christmas…

Have a Holly Jolly Christmas and may all your dreams and wishes come true. xx